Mount Whitney -
Top of the Lower 48
Mount Whitney -
Top of the
Lower 48
California
May 8-10, 2026
At 14,505 feet Mount Whitney stands in California's Sierra Nevada mountain range as the tallest point in the lower forty-eight.
After days of bad weather in Alaska, where we had initially planned on climbing on the Moose’s Tooth, we bailed and pivoted to California. We had just climbed Mount Shasta a couple days earlier and made the eight hour drive down to Lone Pine, the access point for Mount Whitney. We got lucky and were able to snag last minute permits for Whitney. 
The approach to Upper Boyscout Lake, Whitney summit is the tallest peak on the right
There are two ways to climb Mount Whitney. Both are a little over 6,000 feet of elevation gain and start from the Whitney Portal.
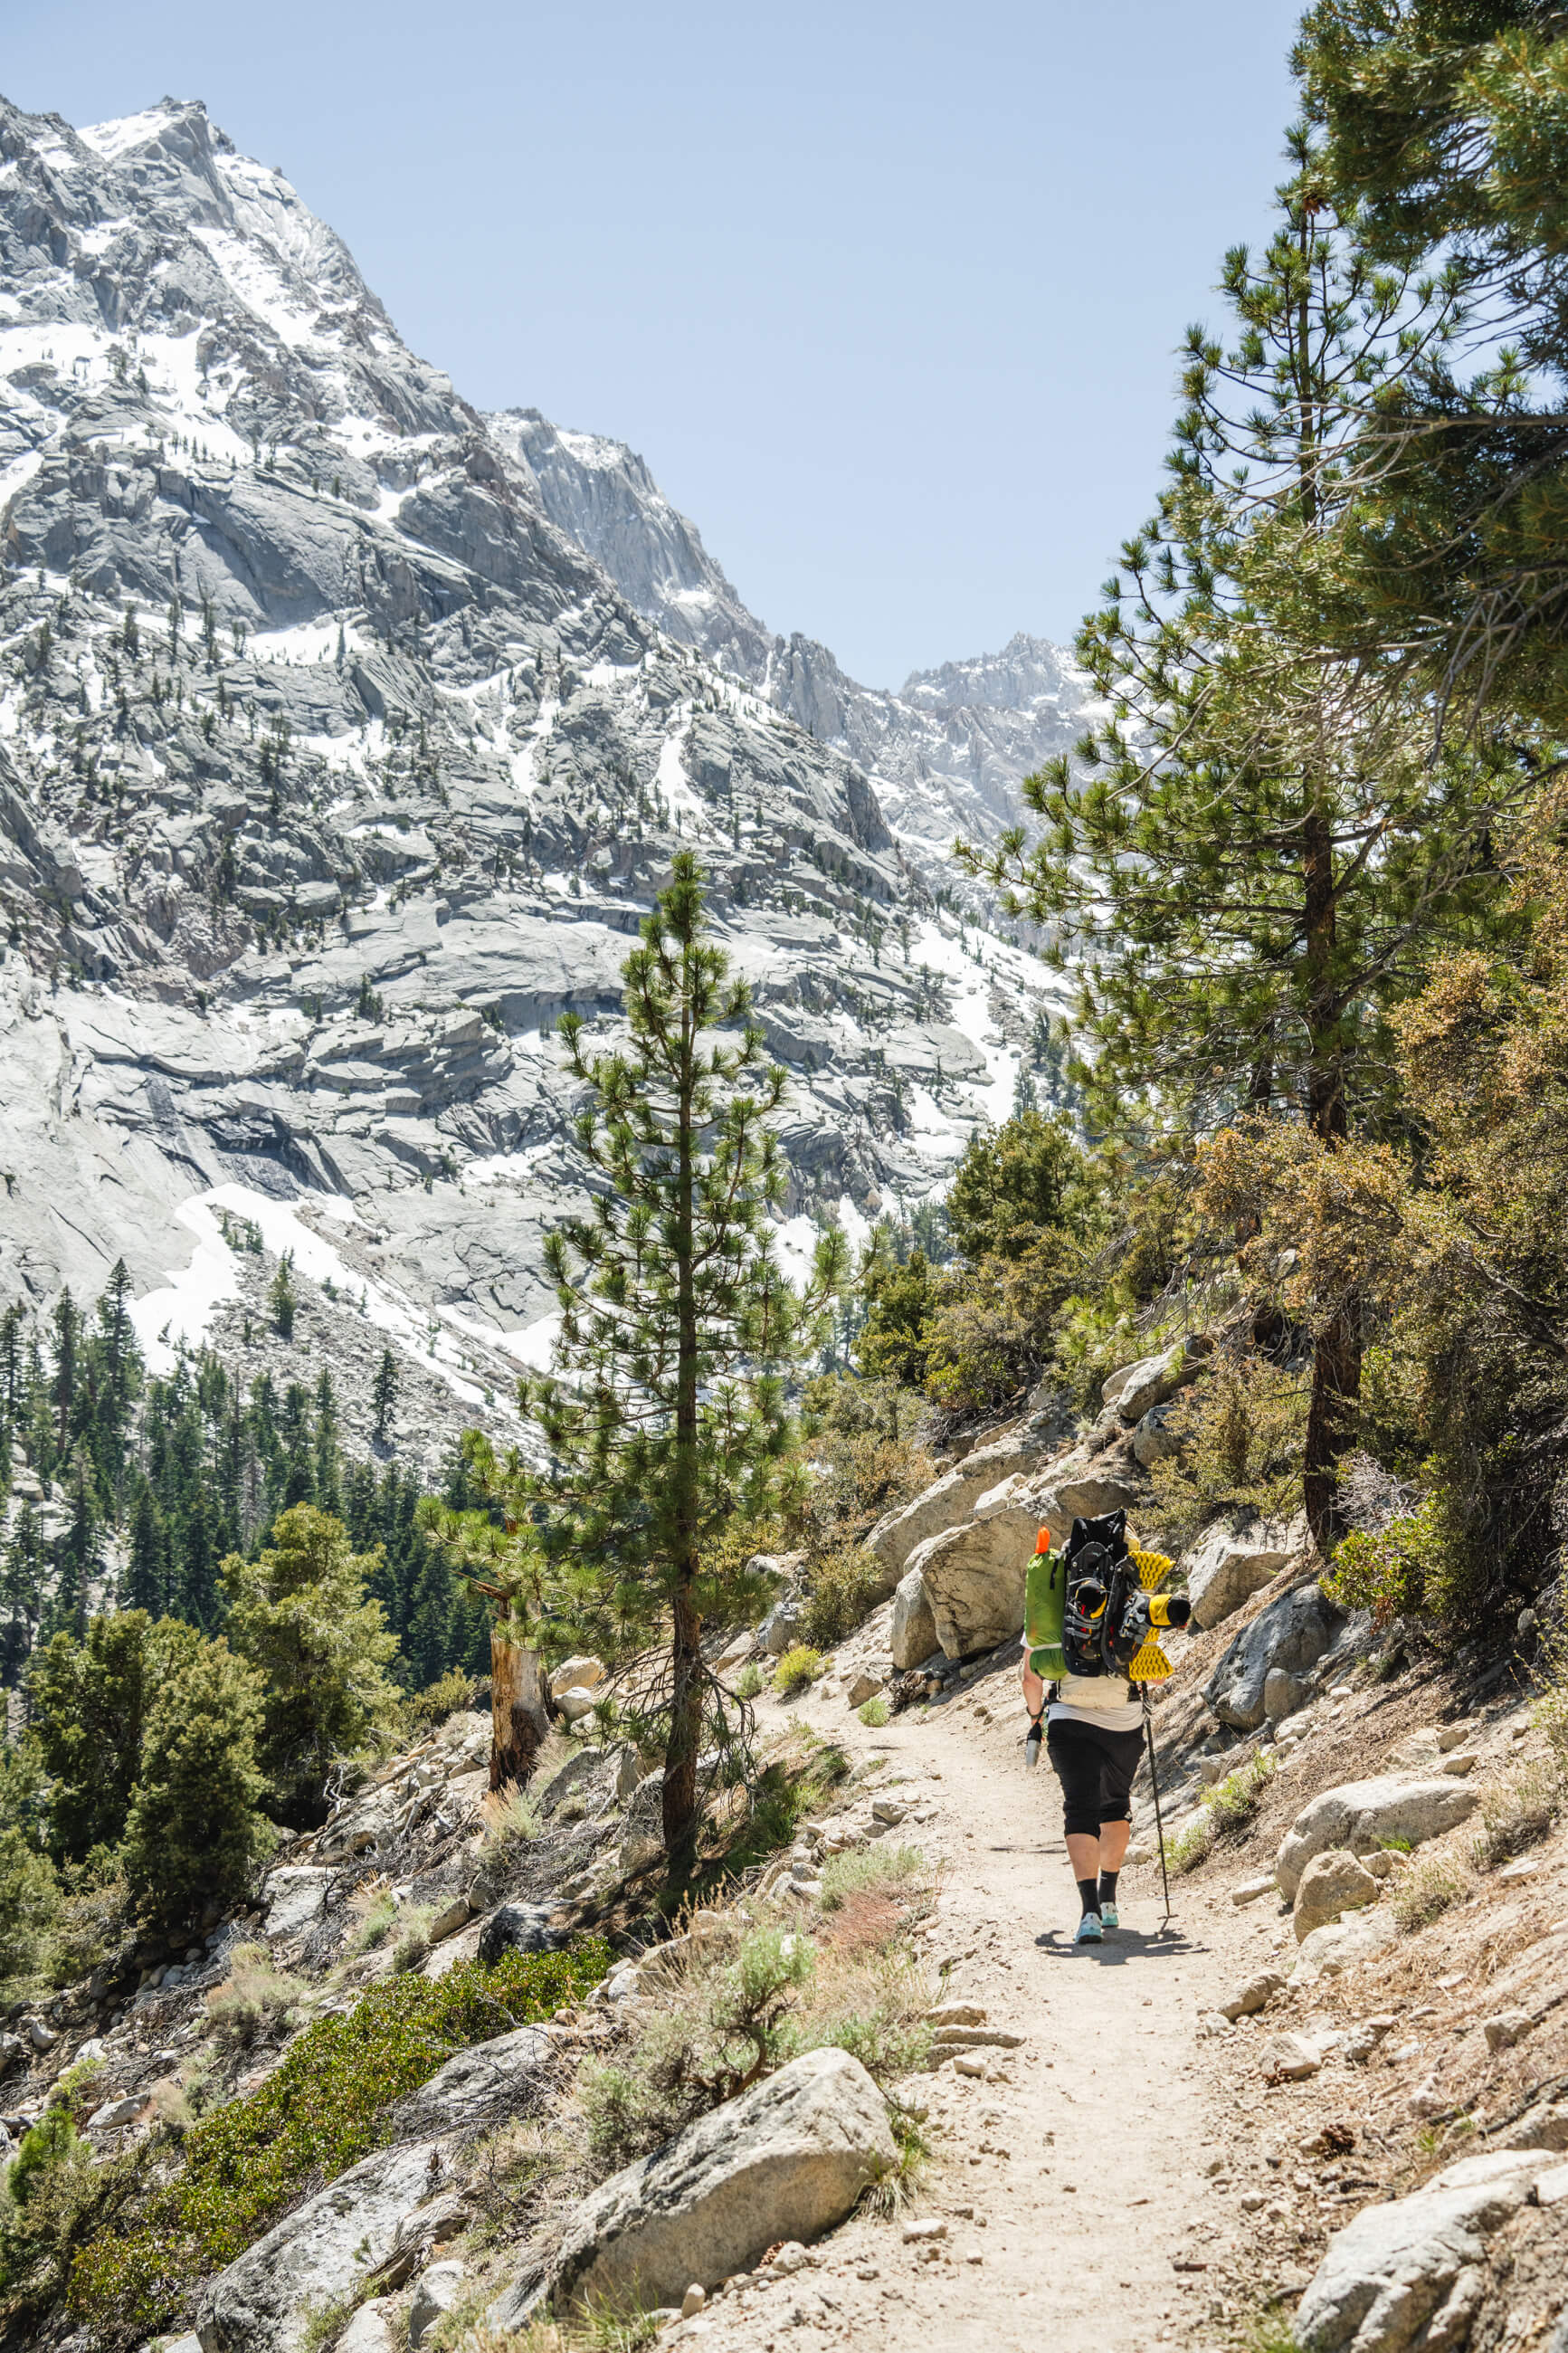
The trails fork about a mile into the hike. The standard route is the southern route and more popular, especially in the summer months. It is over twenty miles up a series of switchbacks but not at all technical.
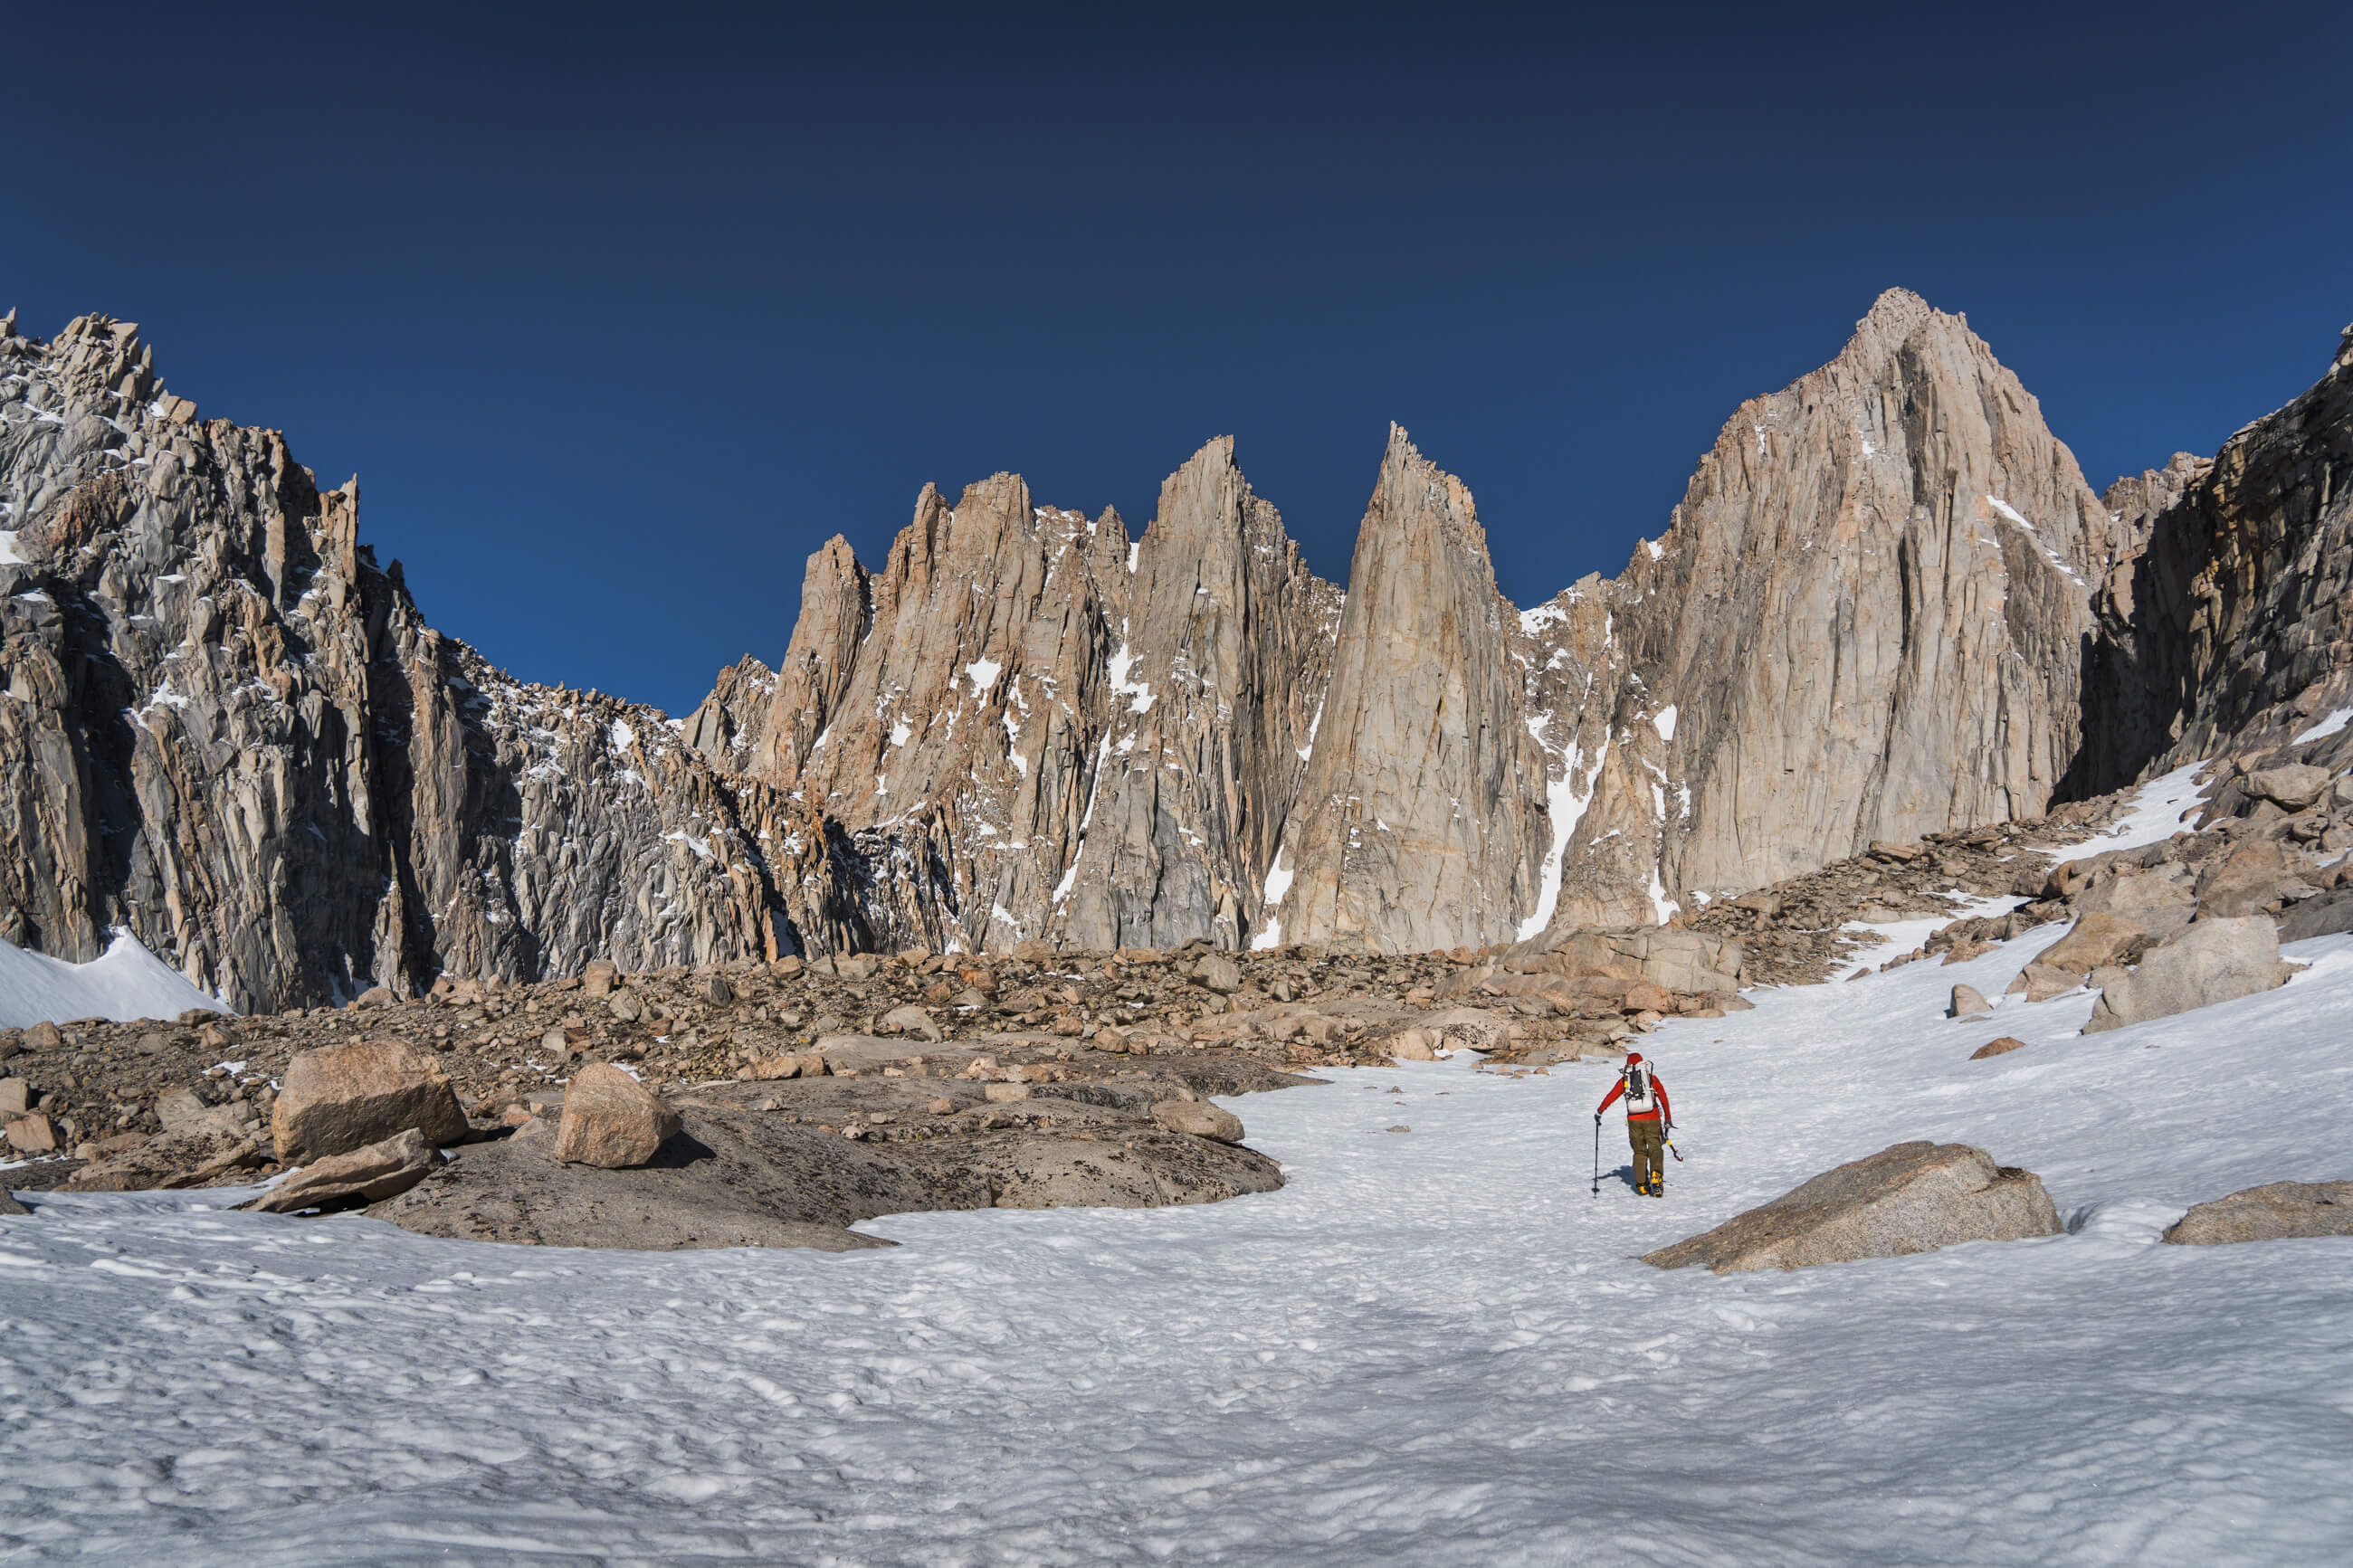
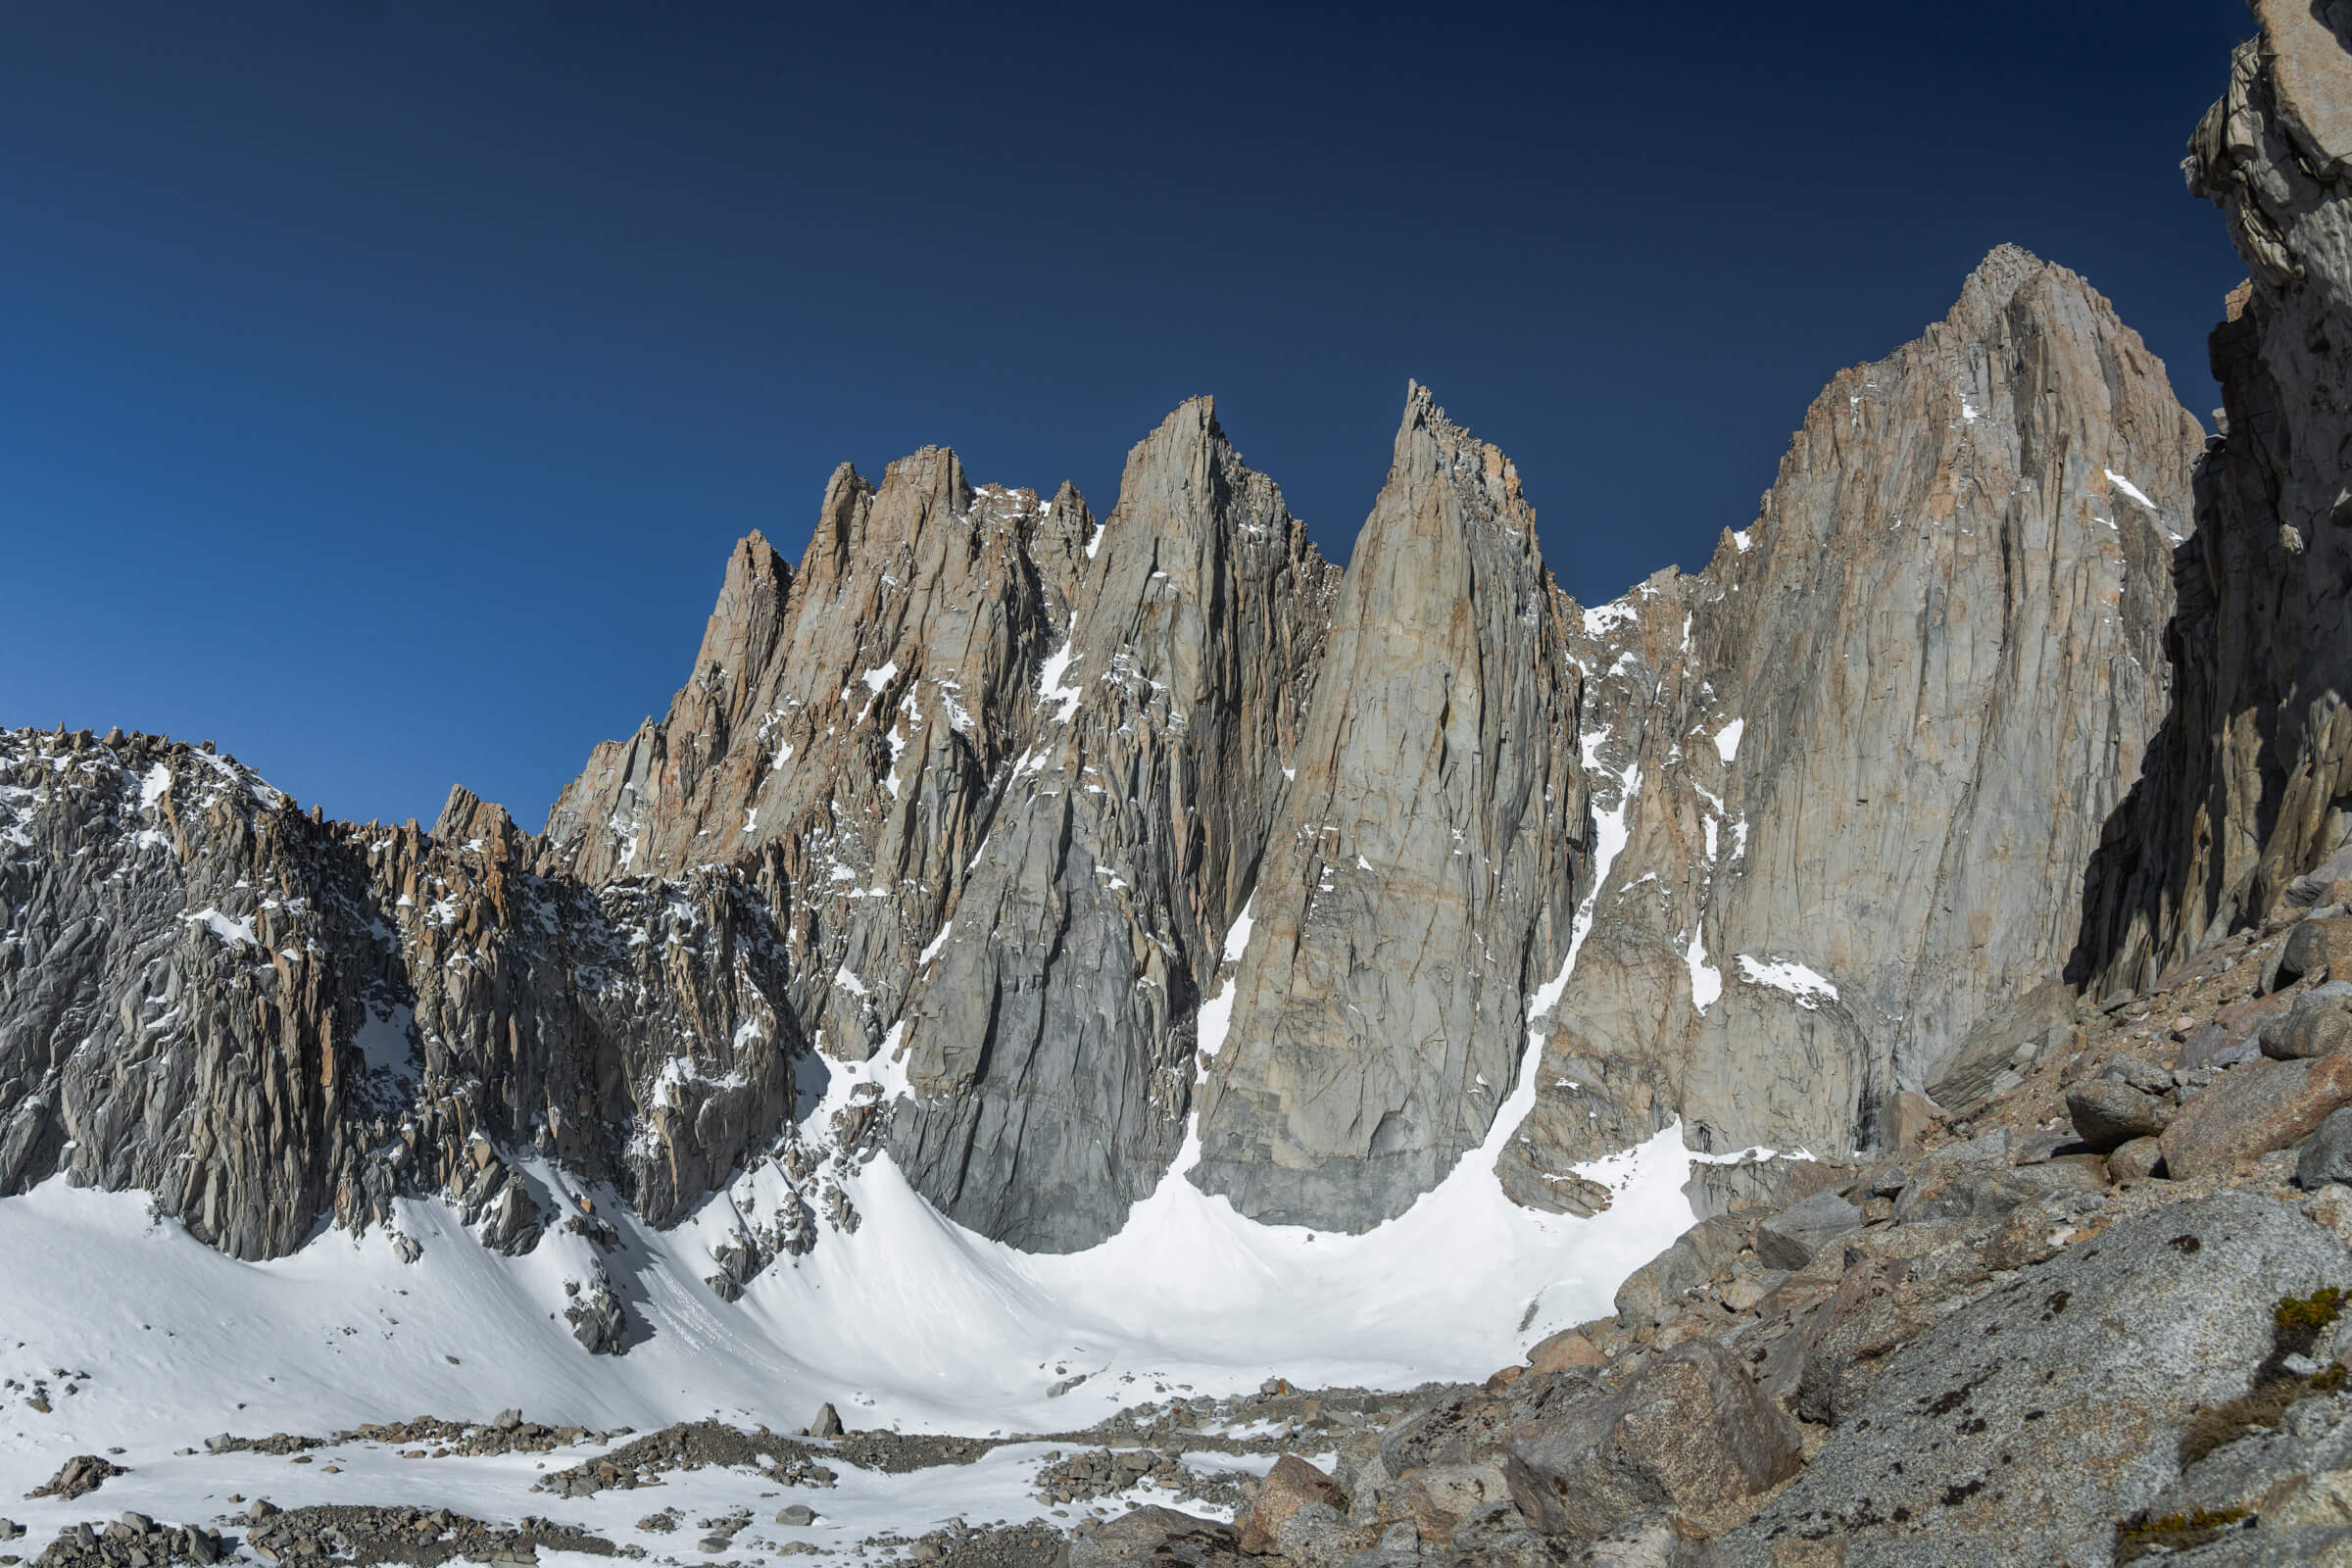
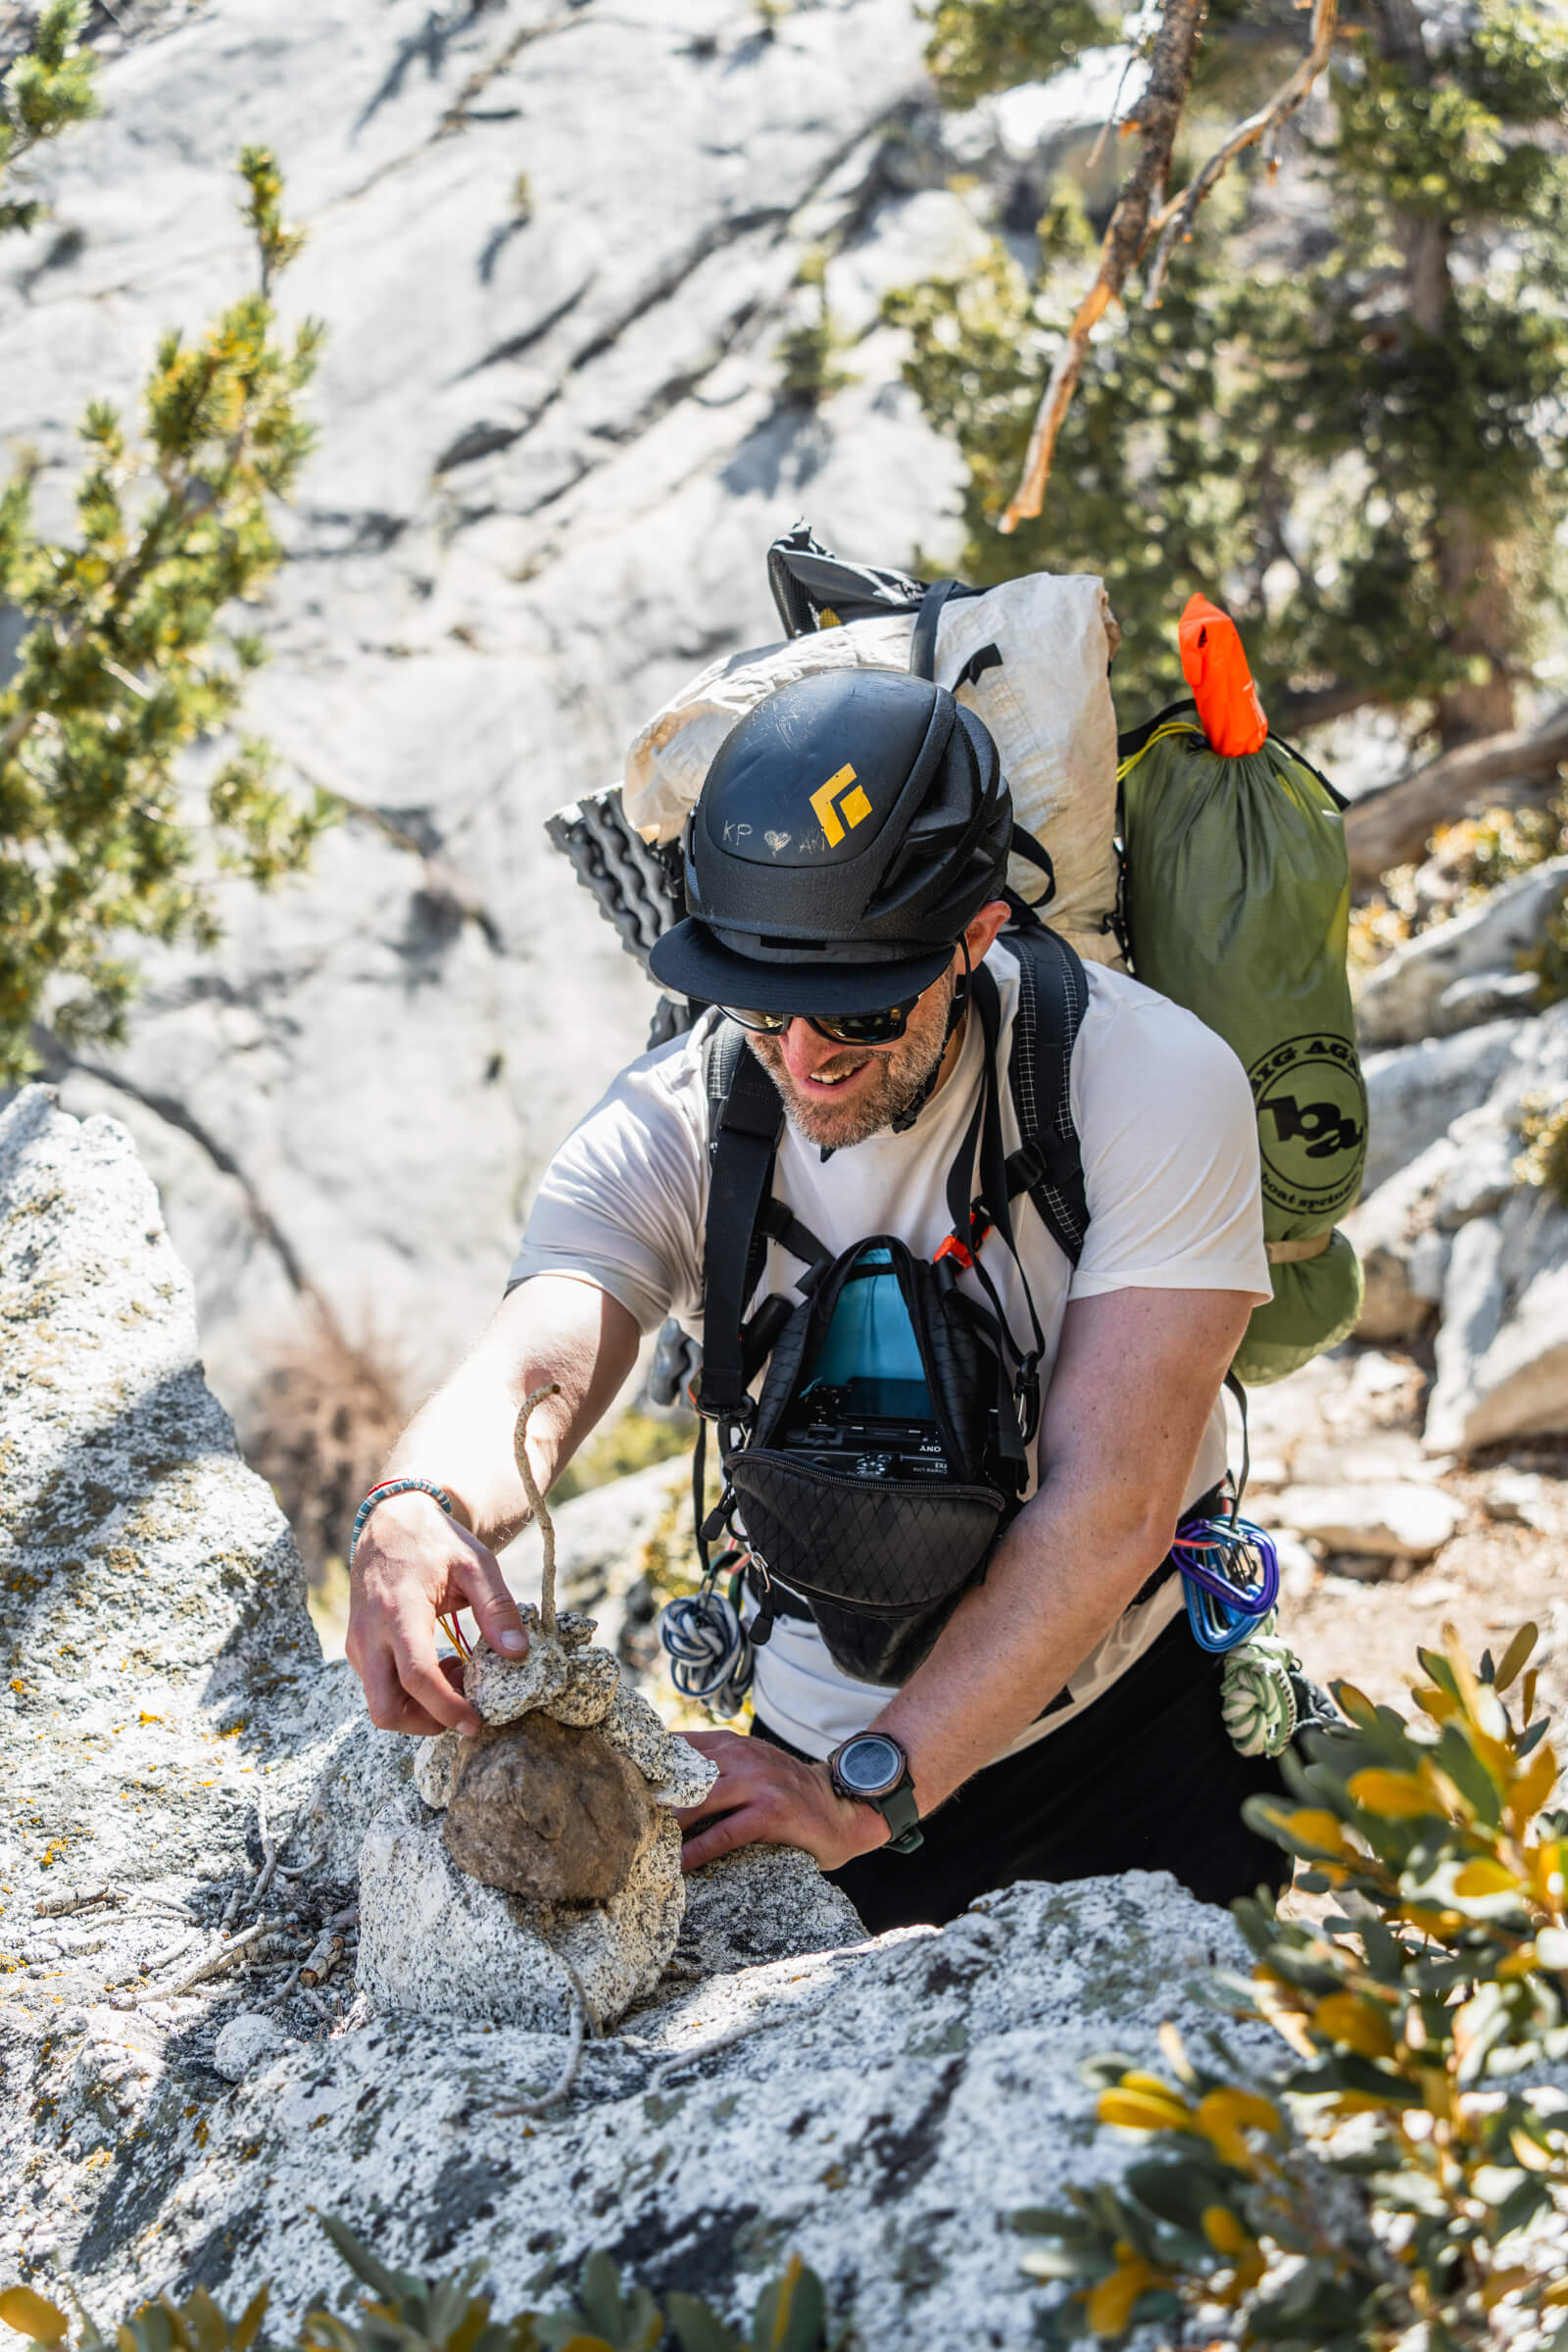
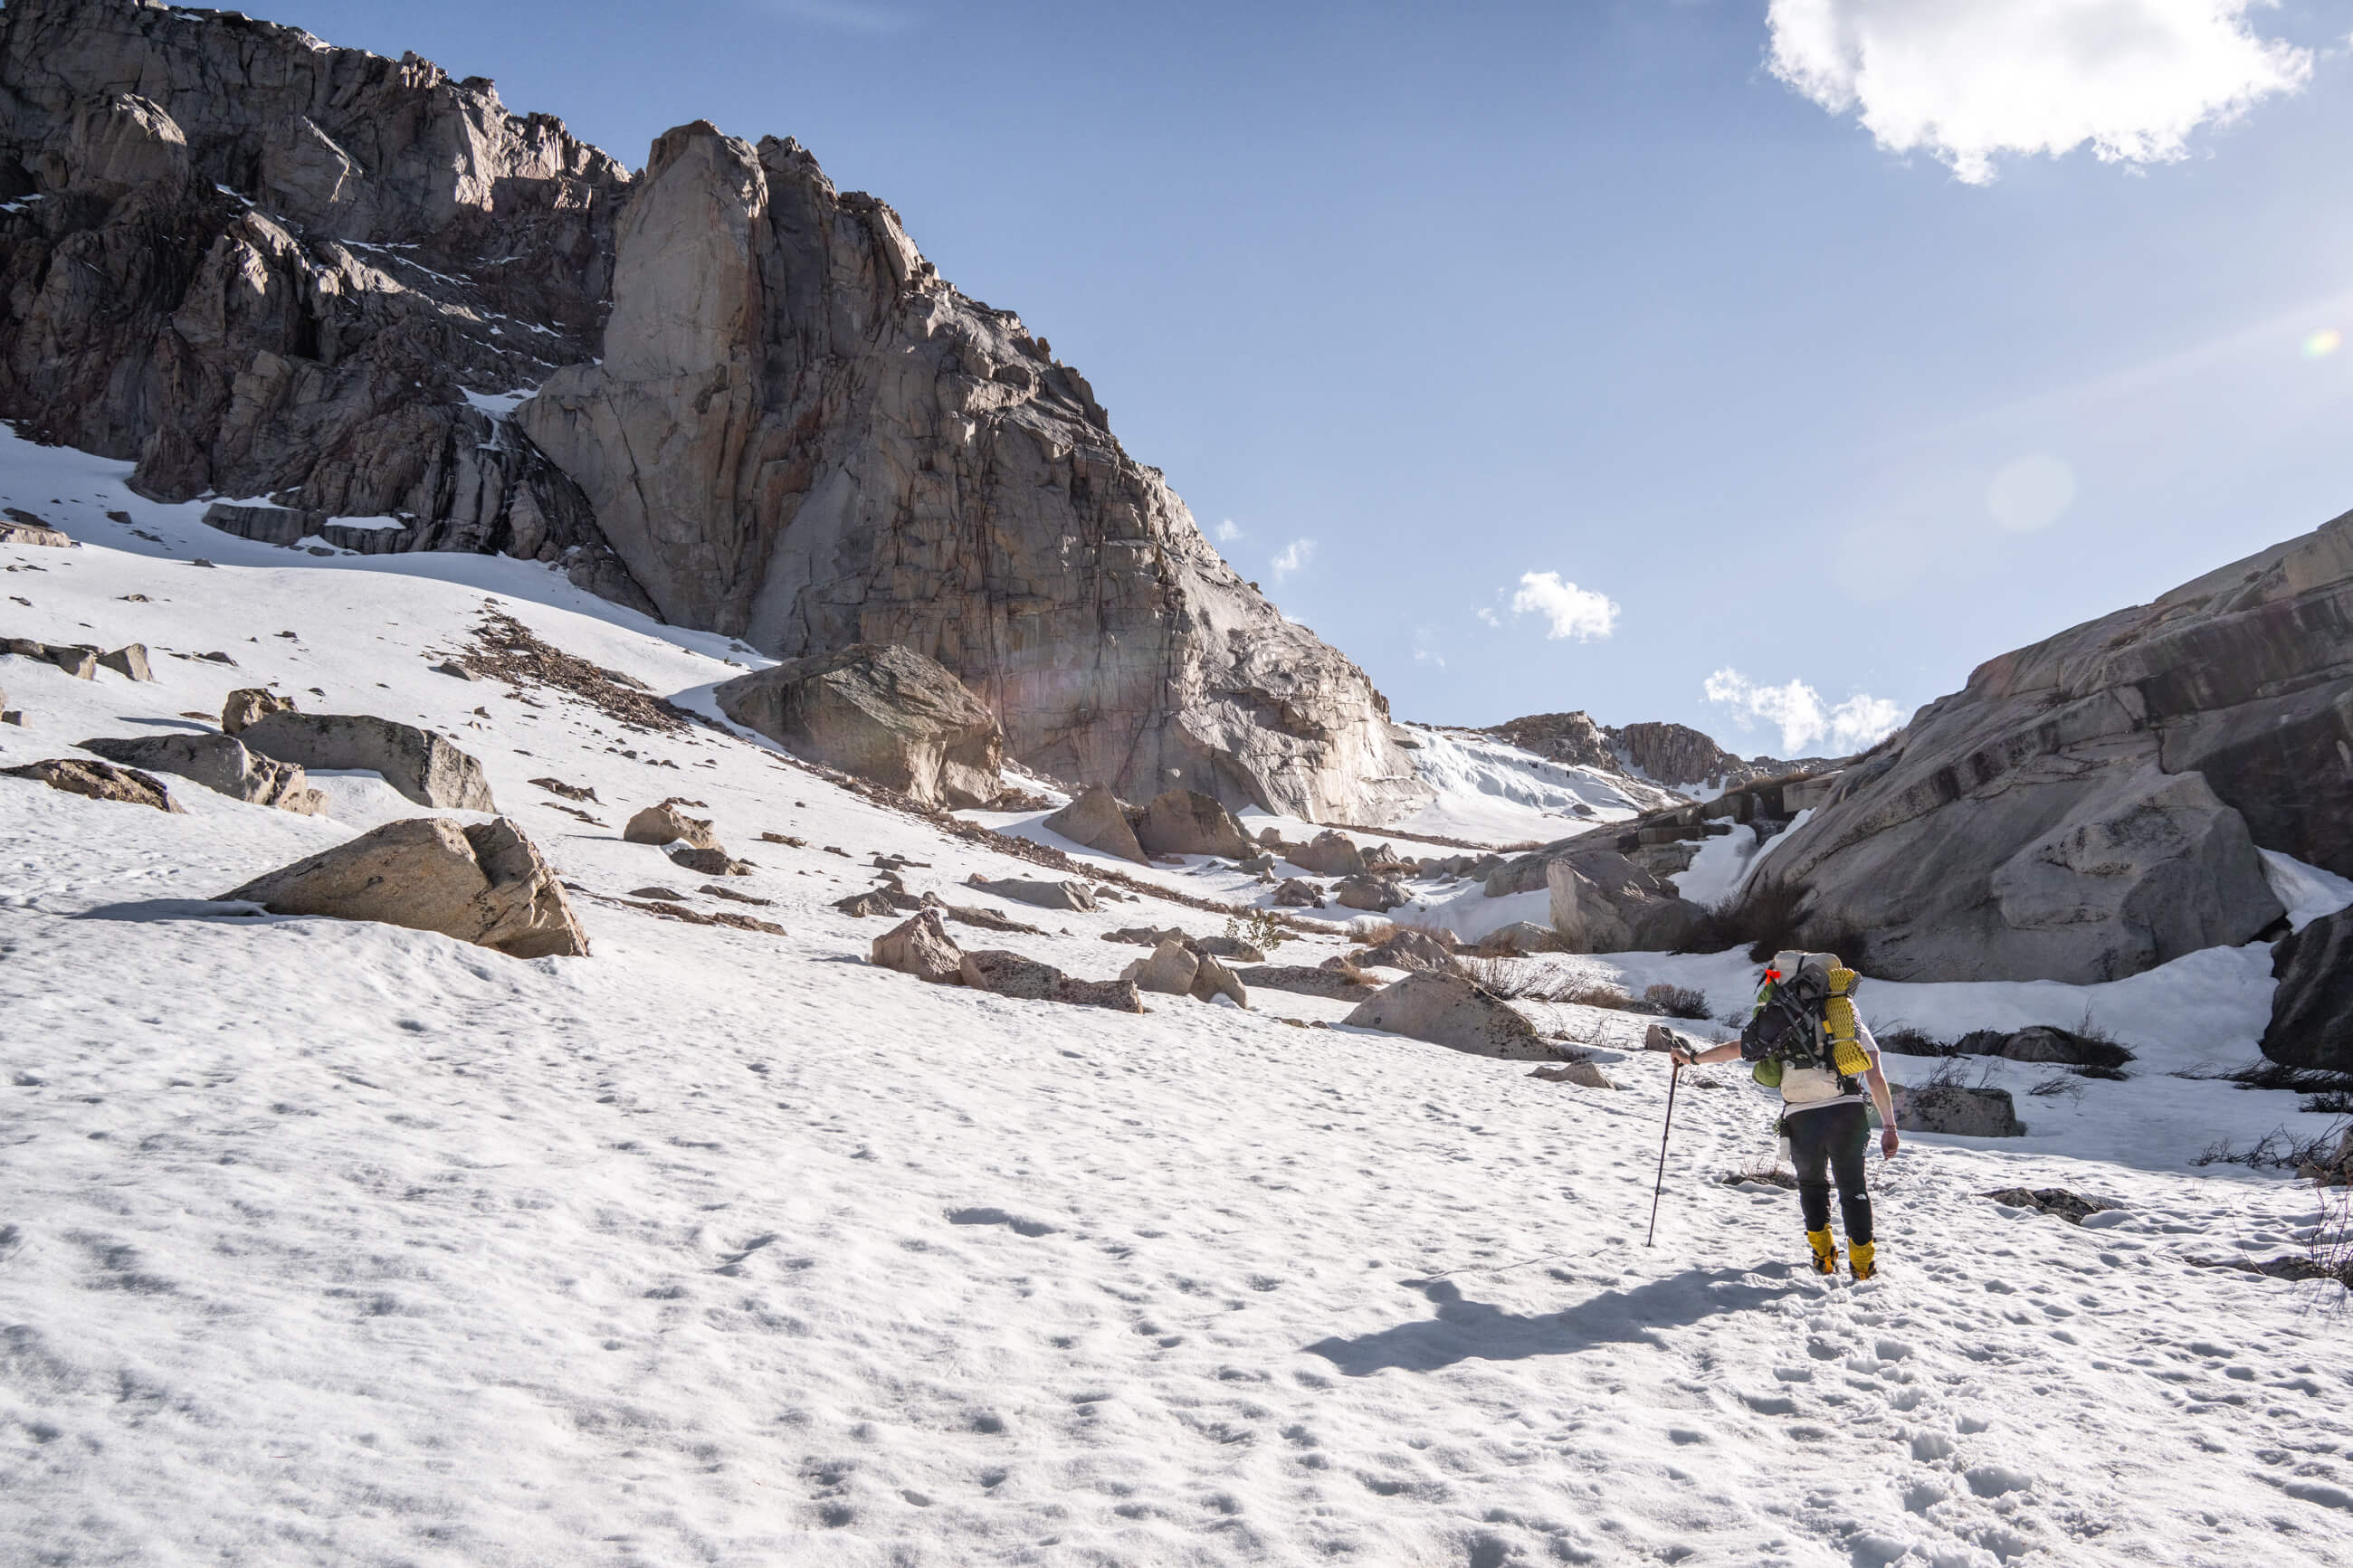
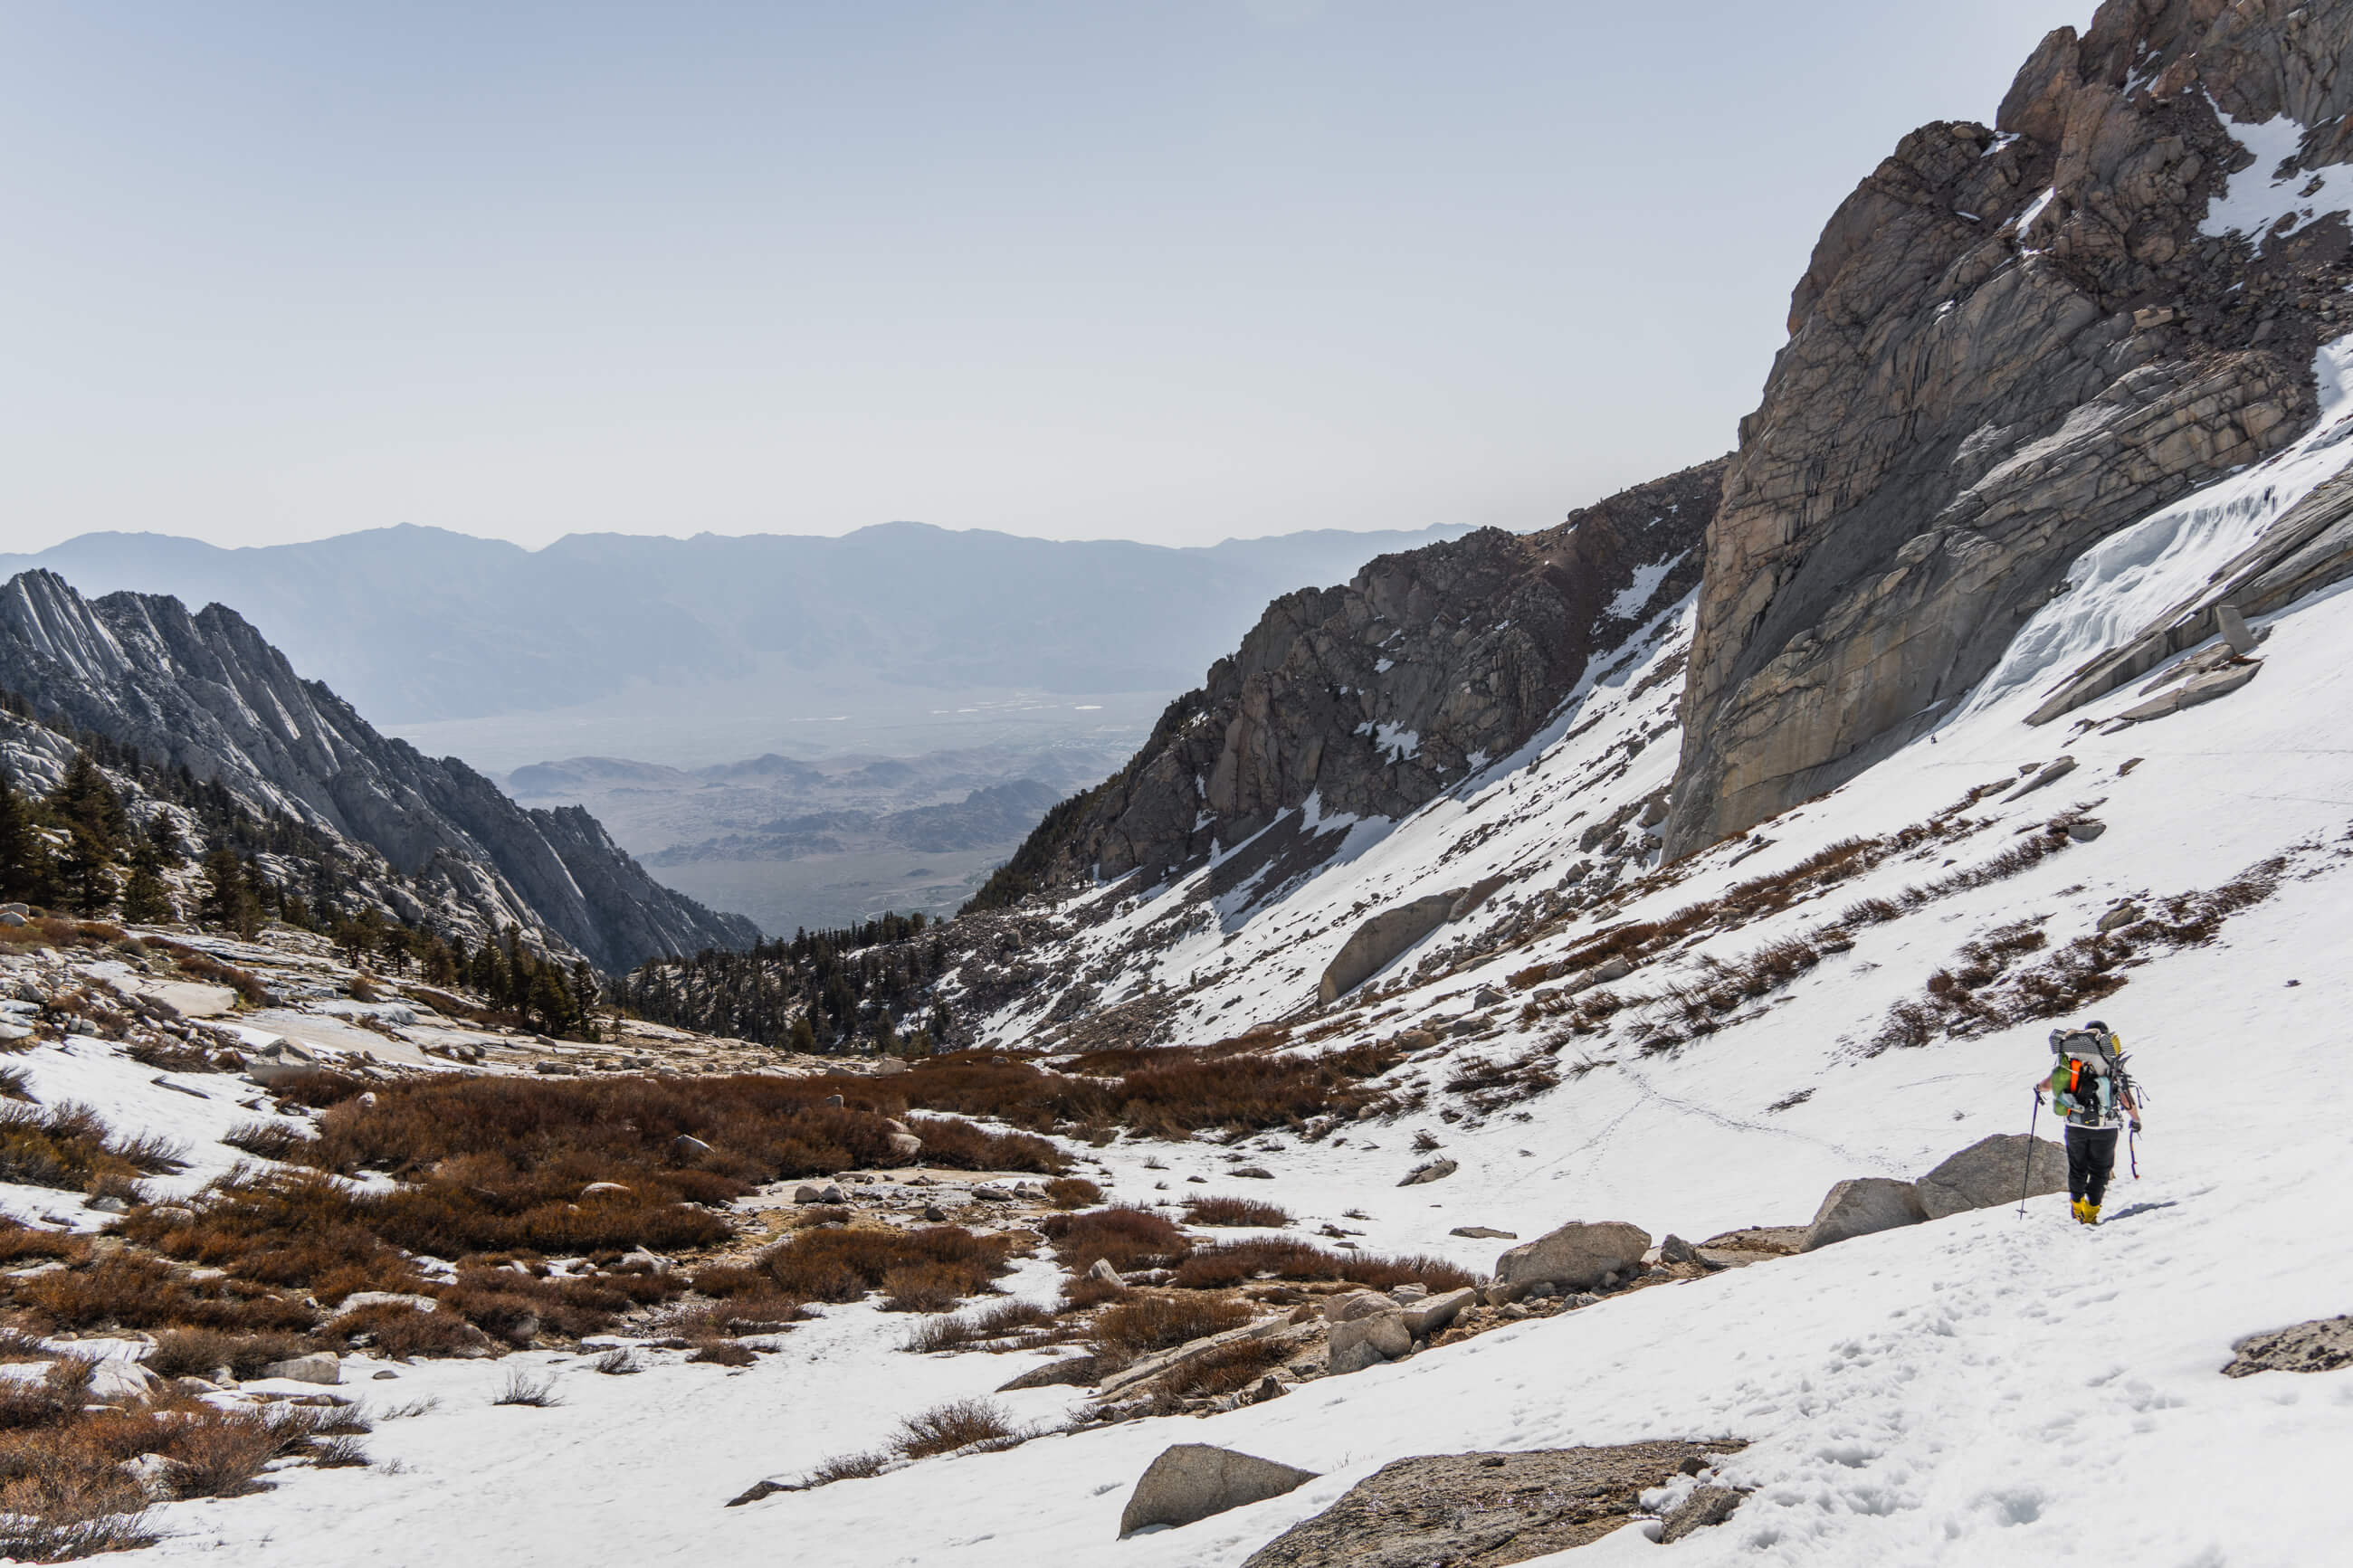
There is also the 
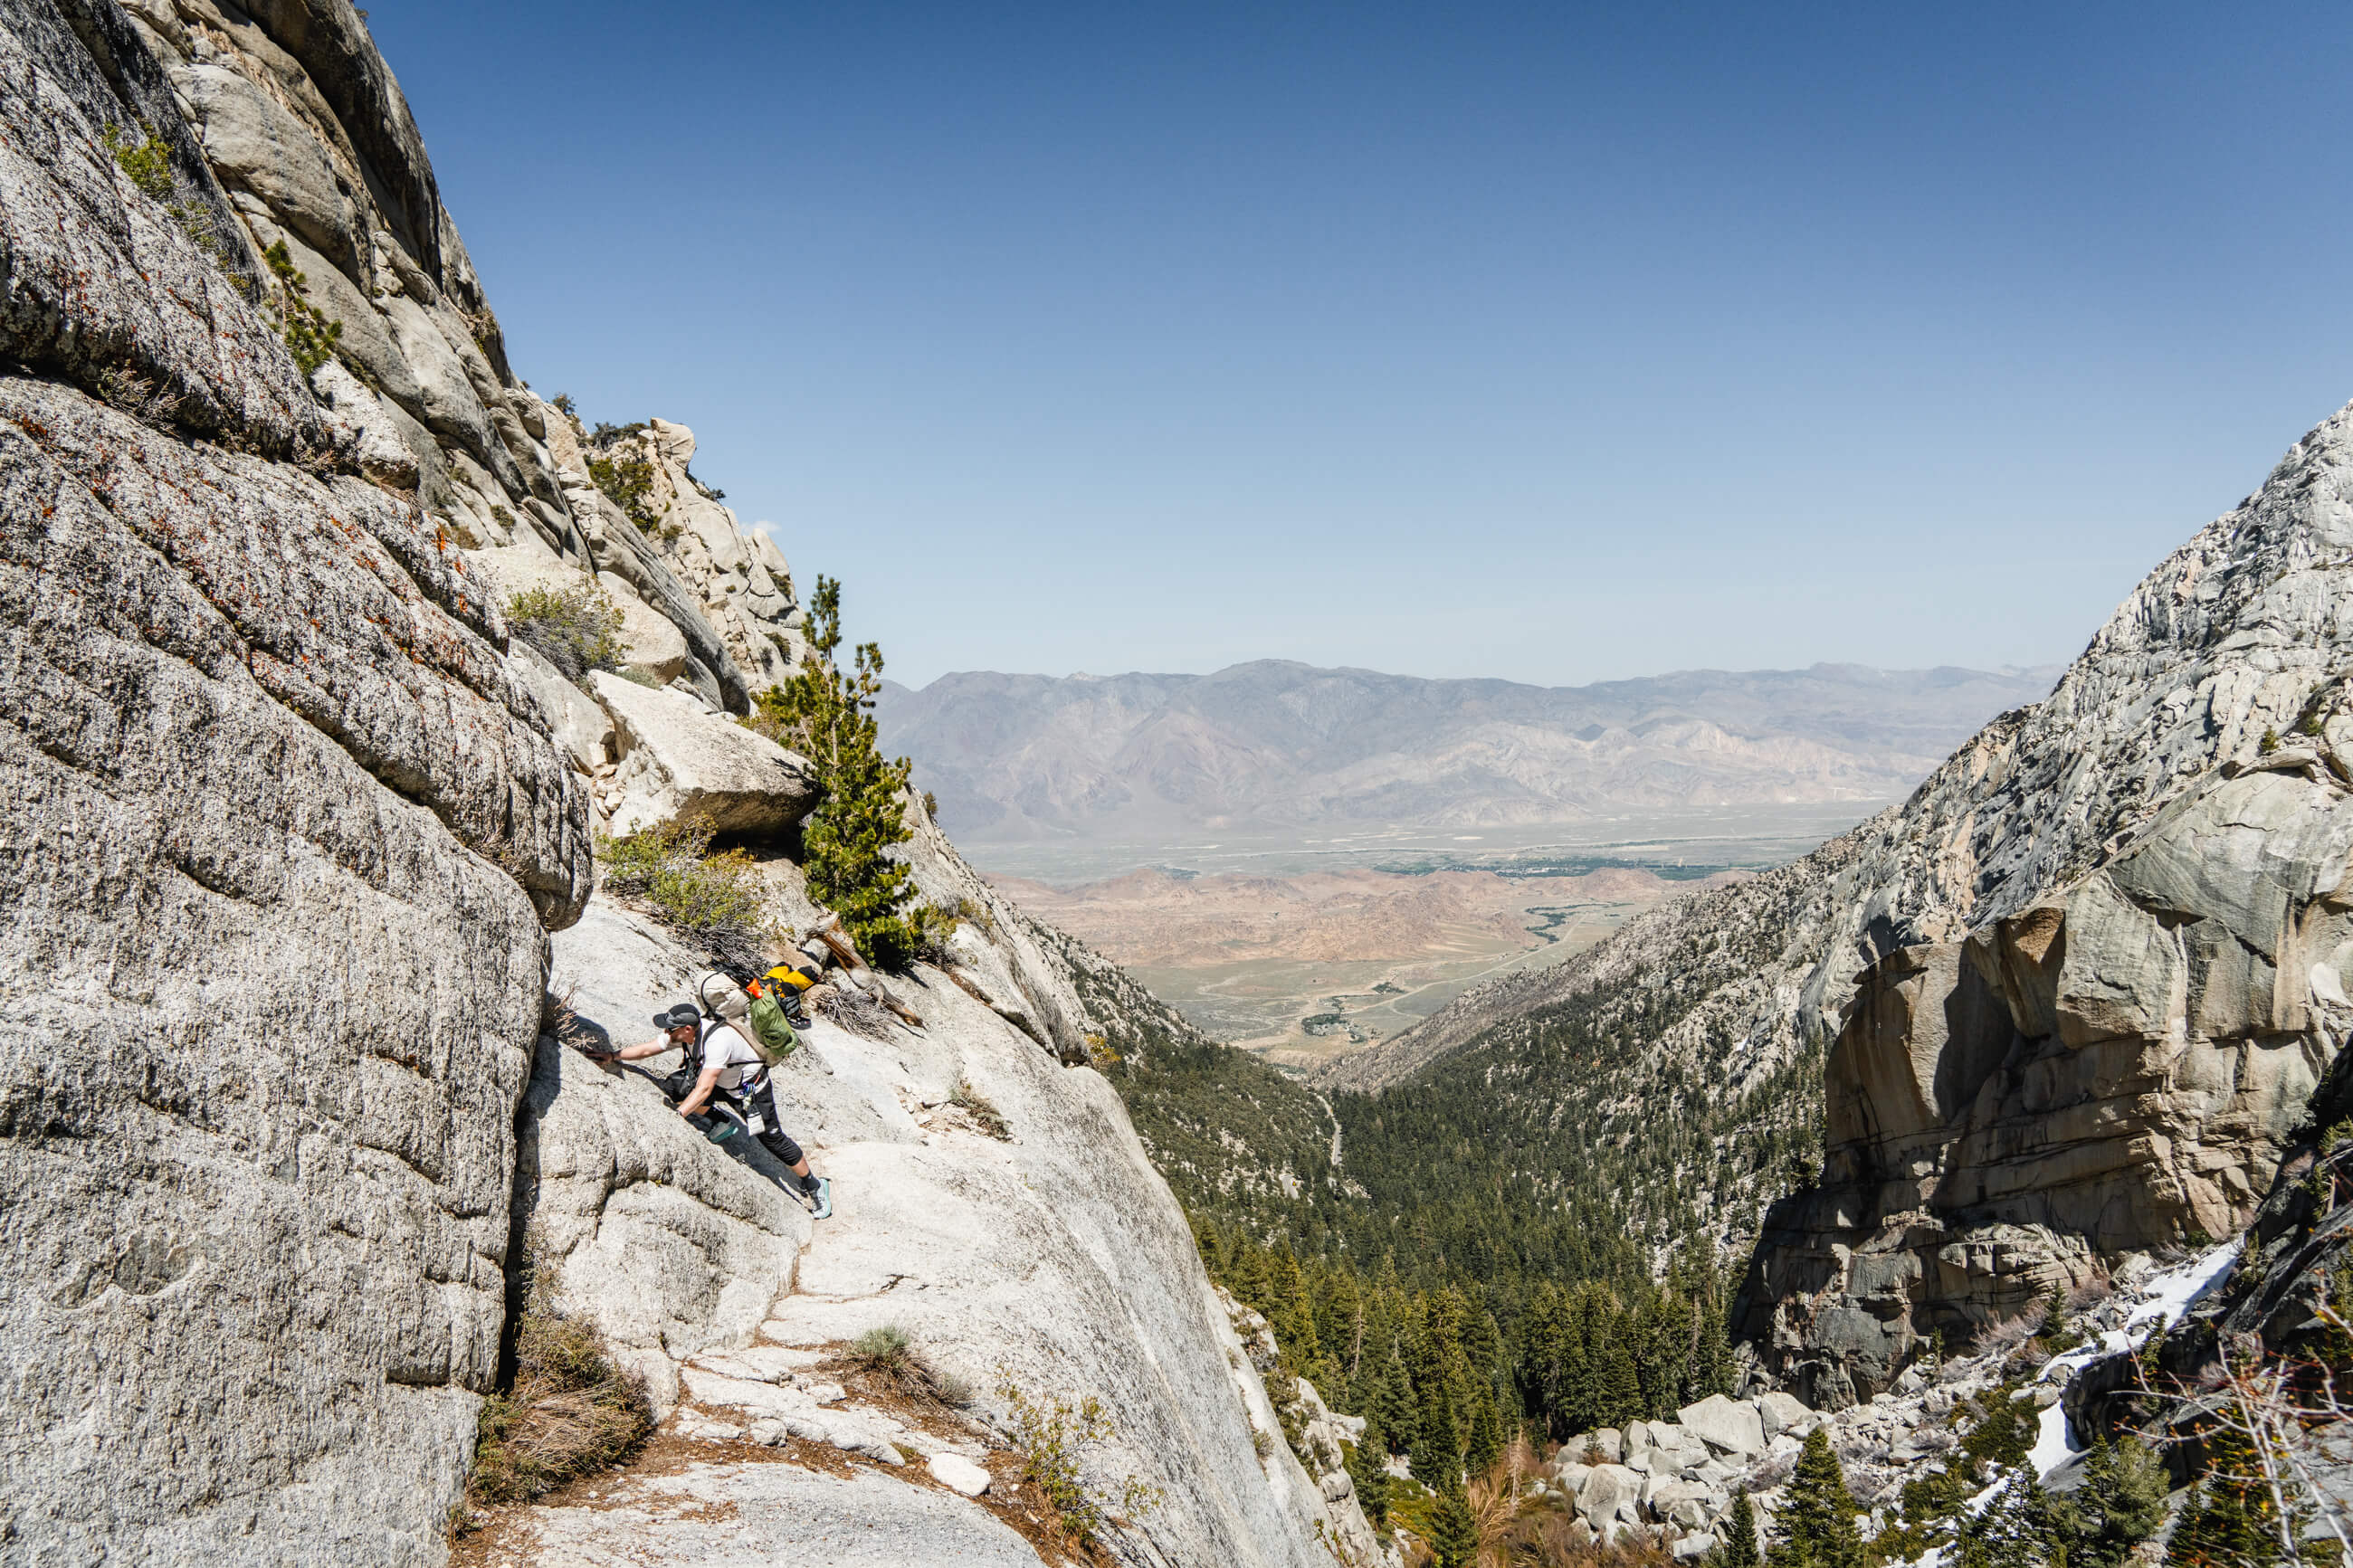
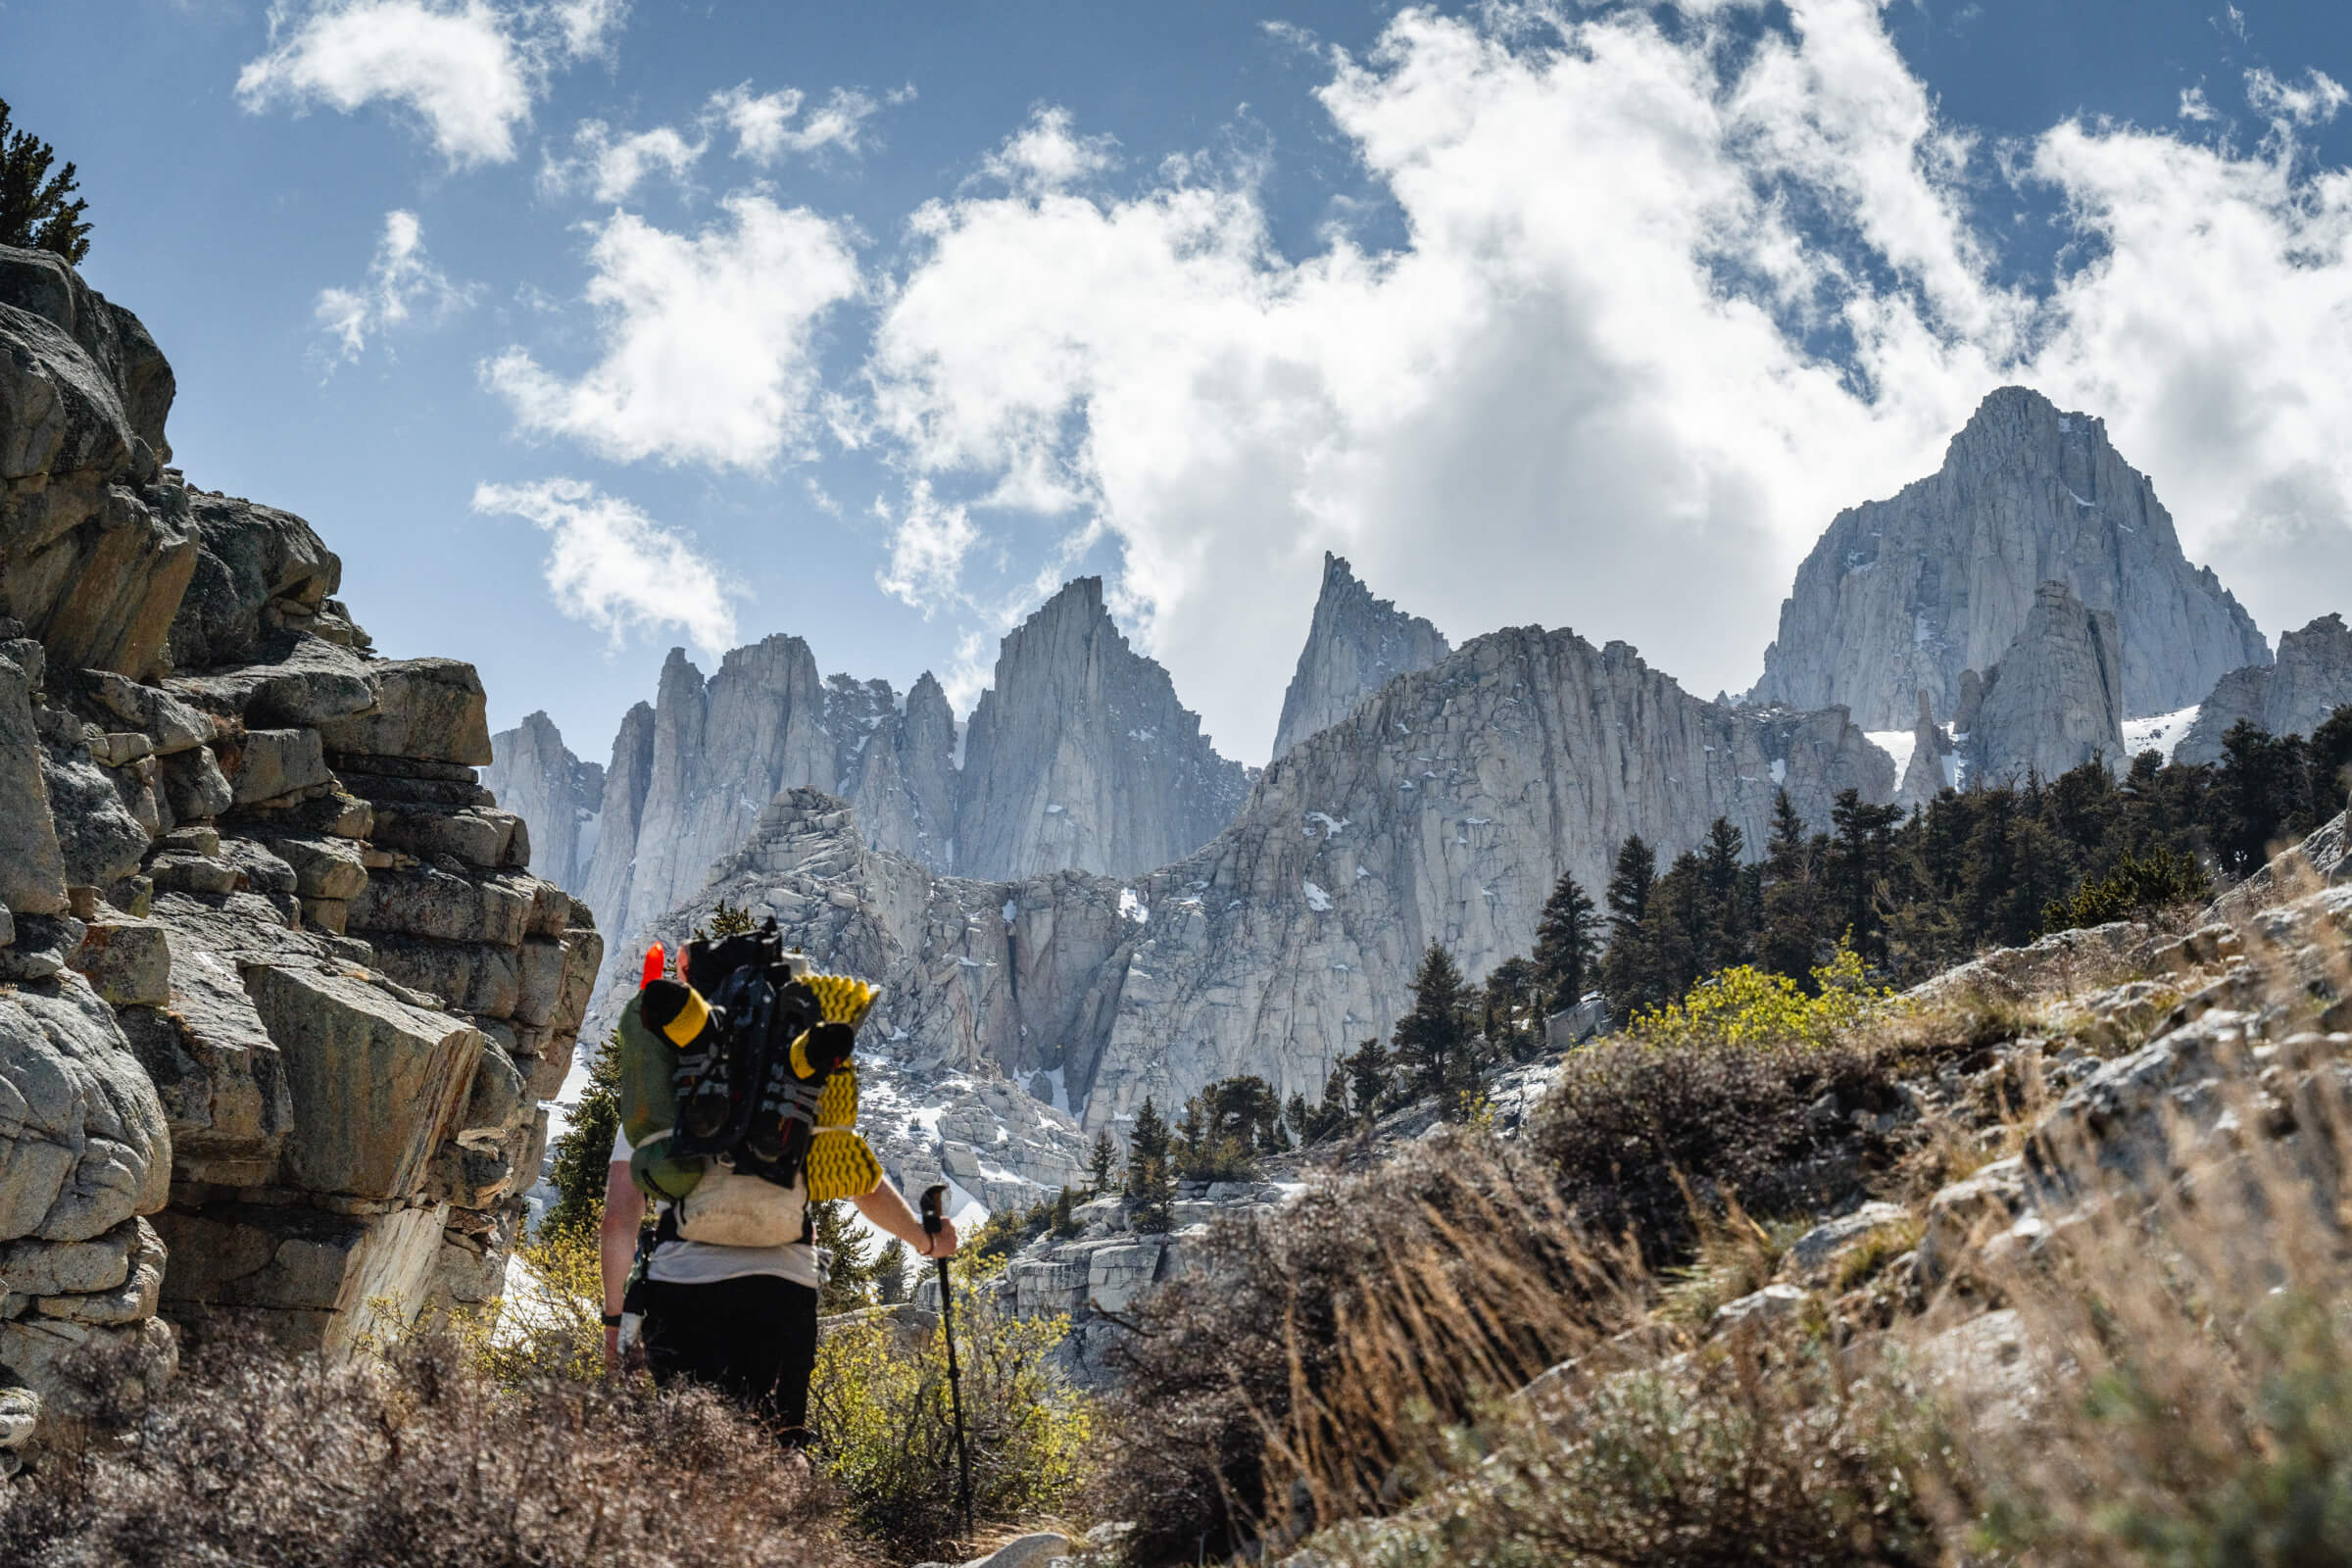
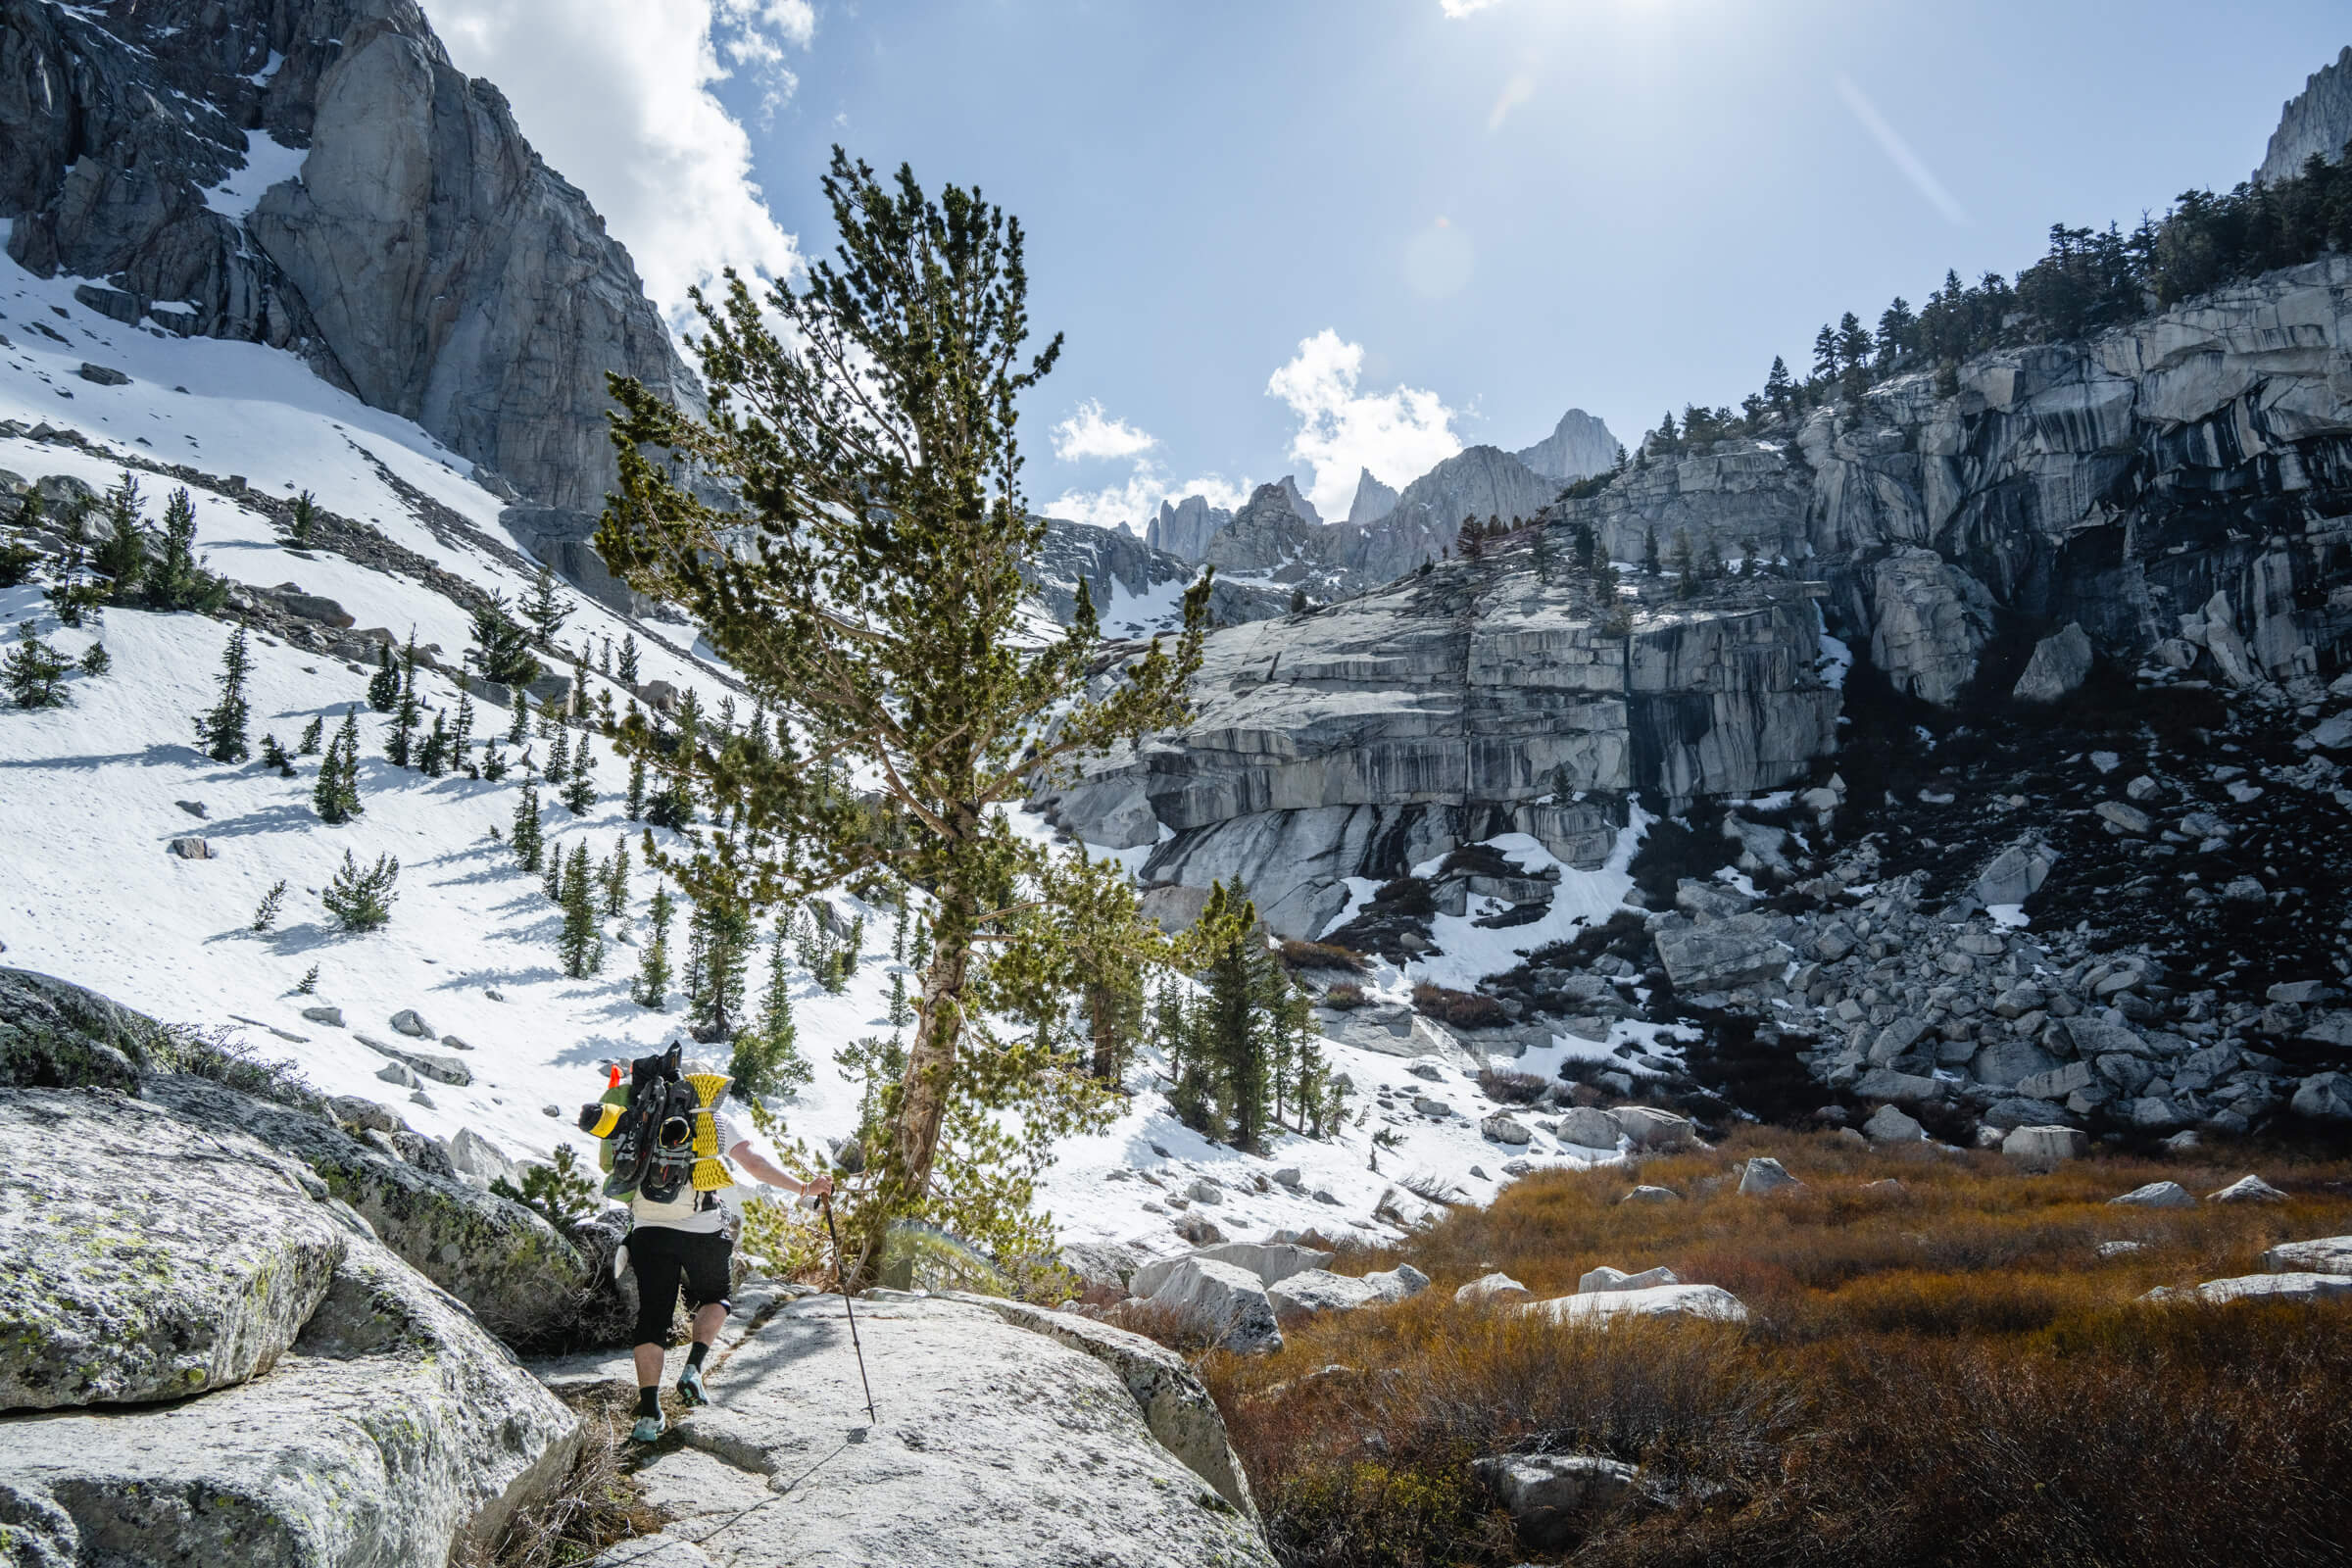
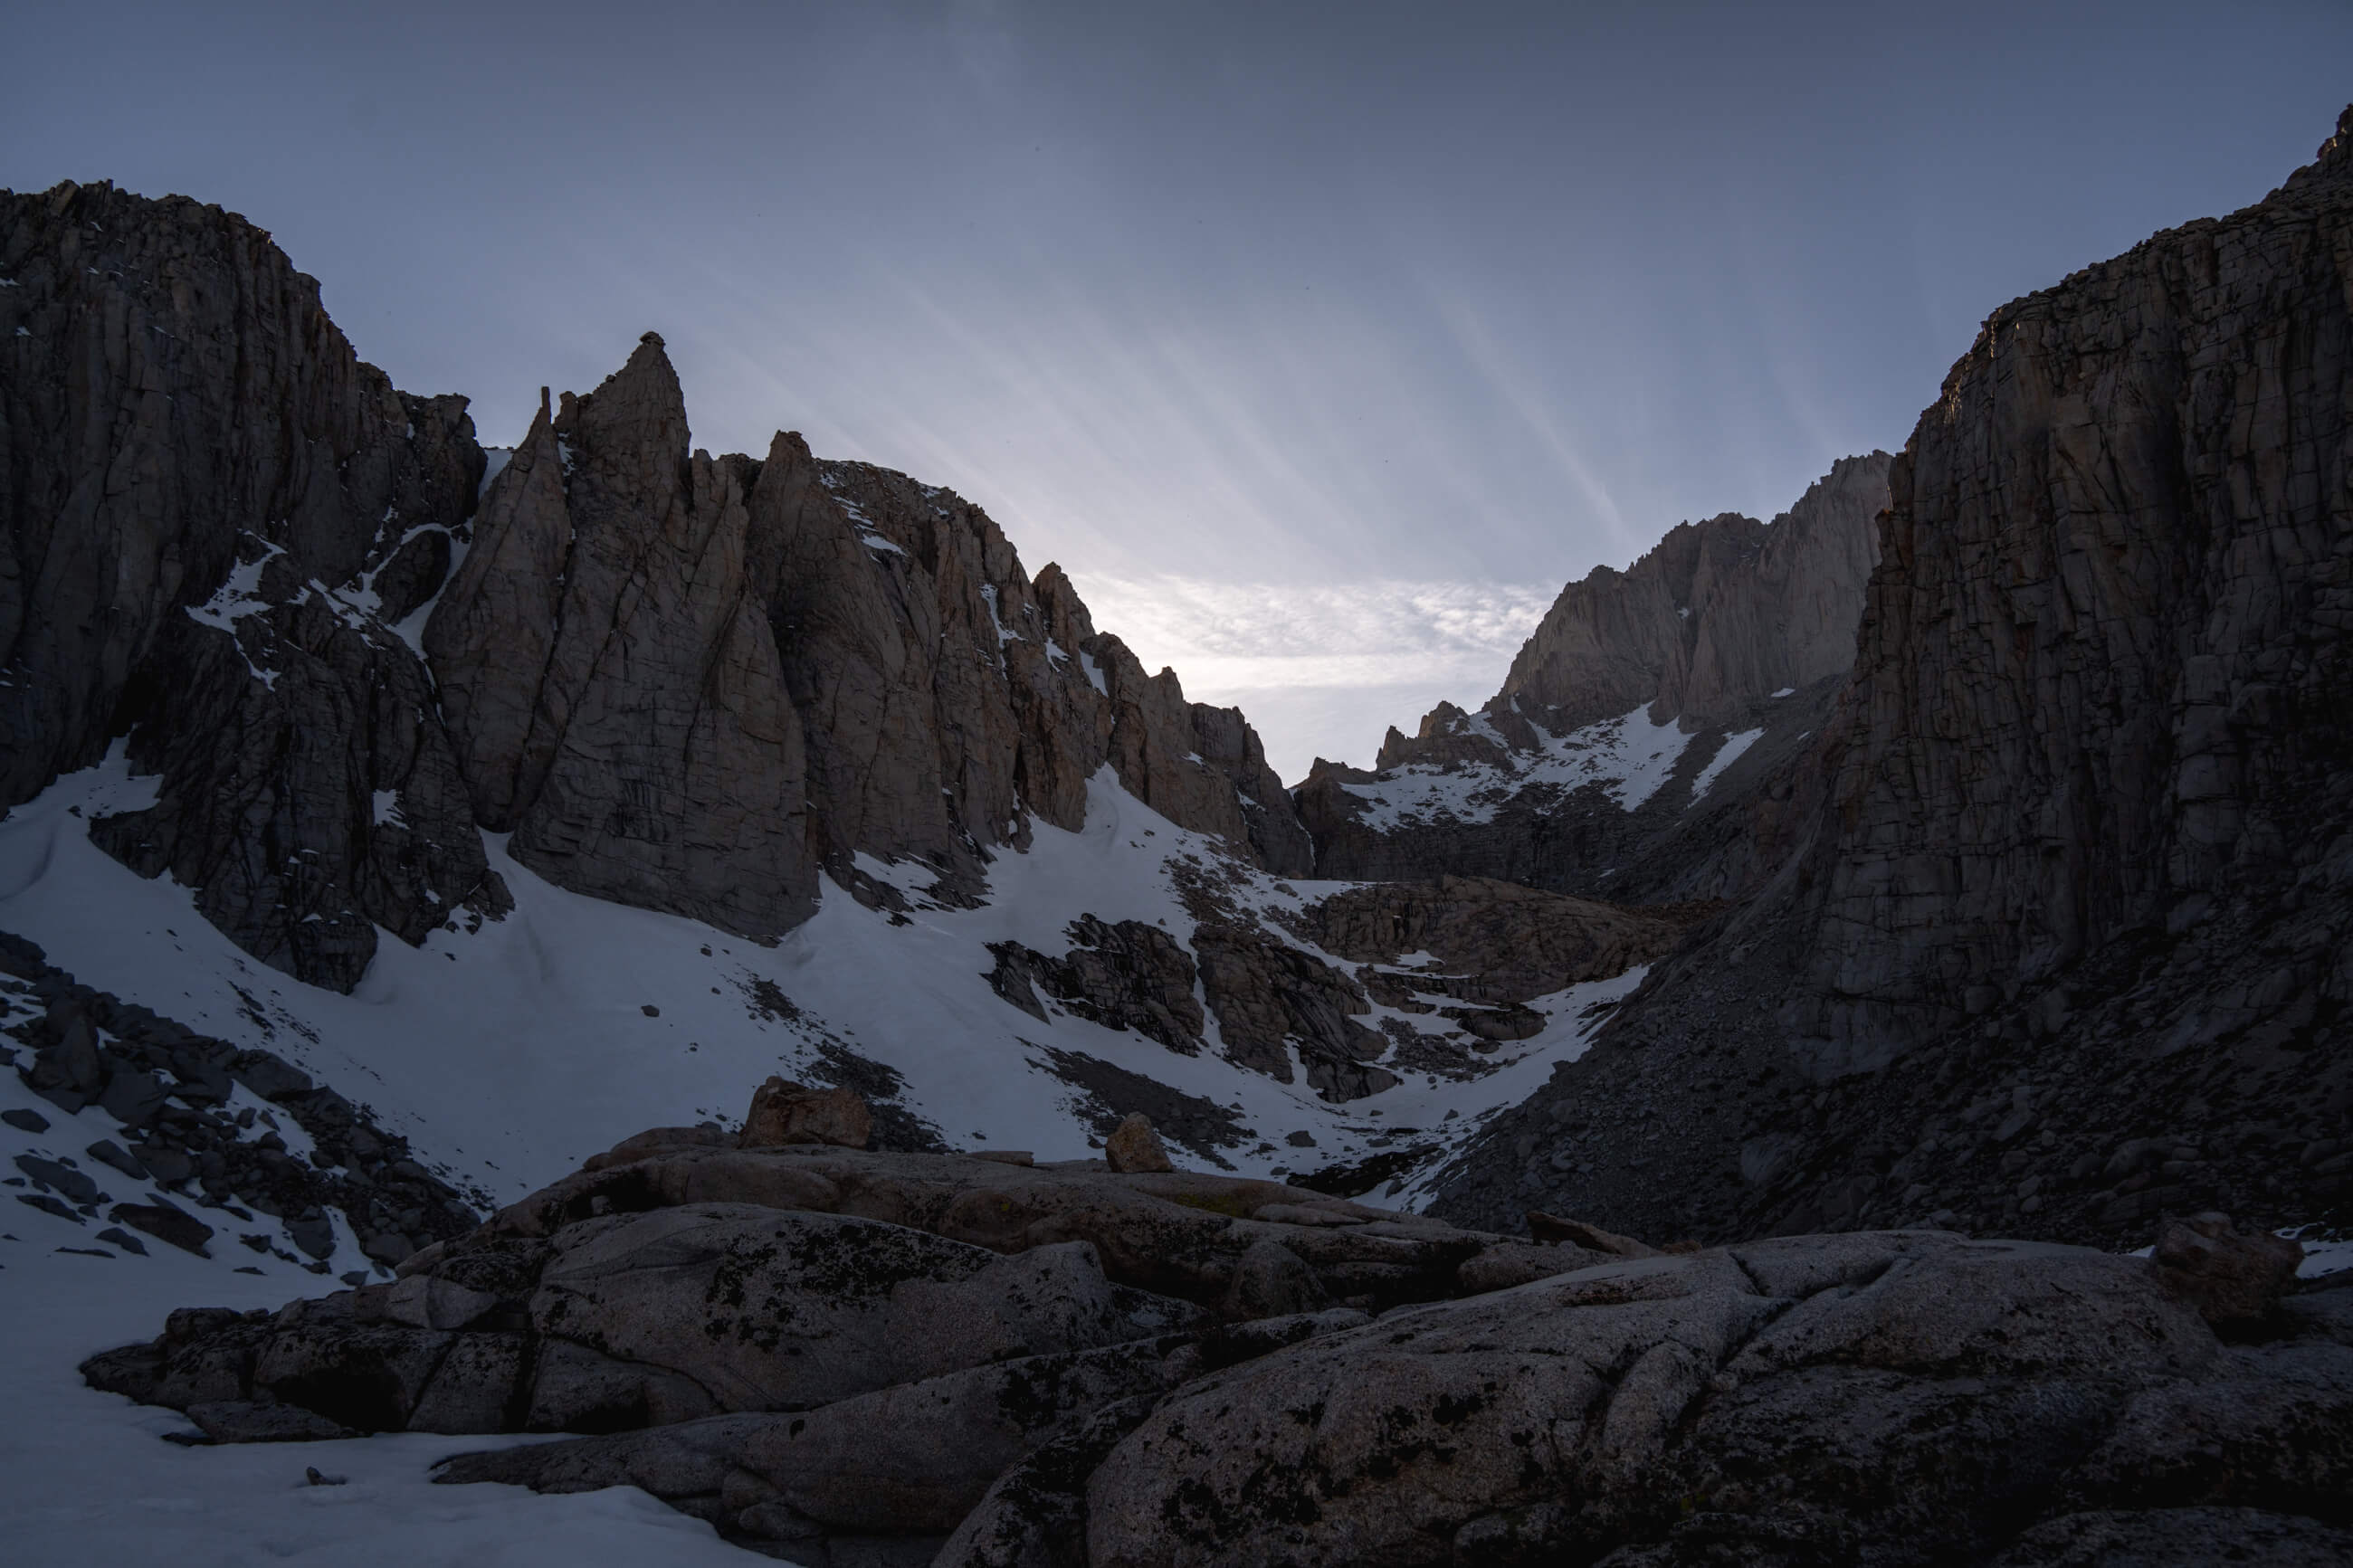
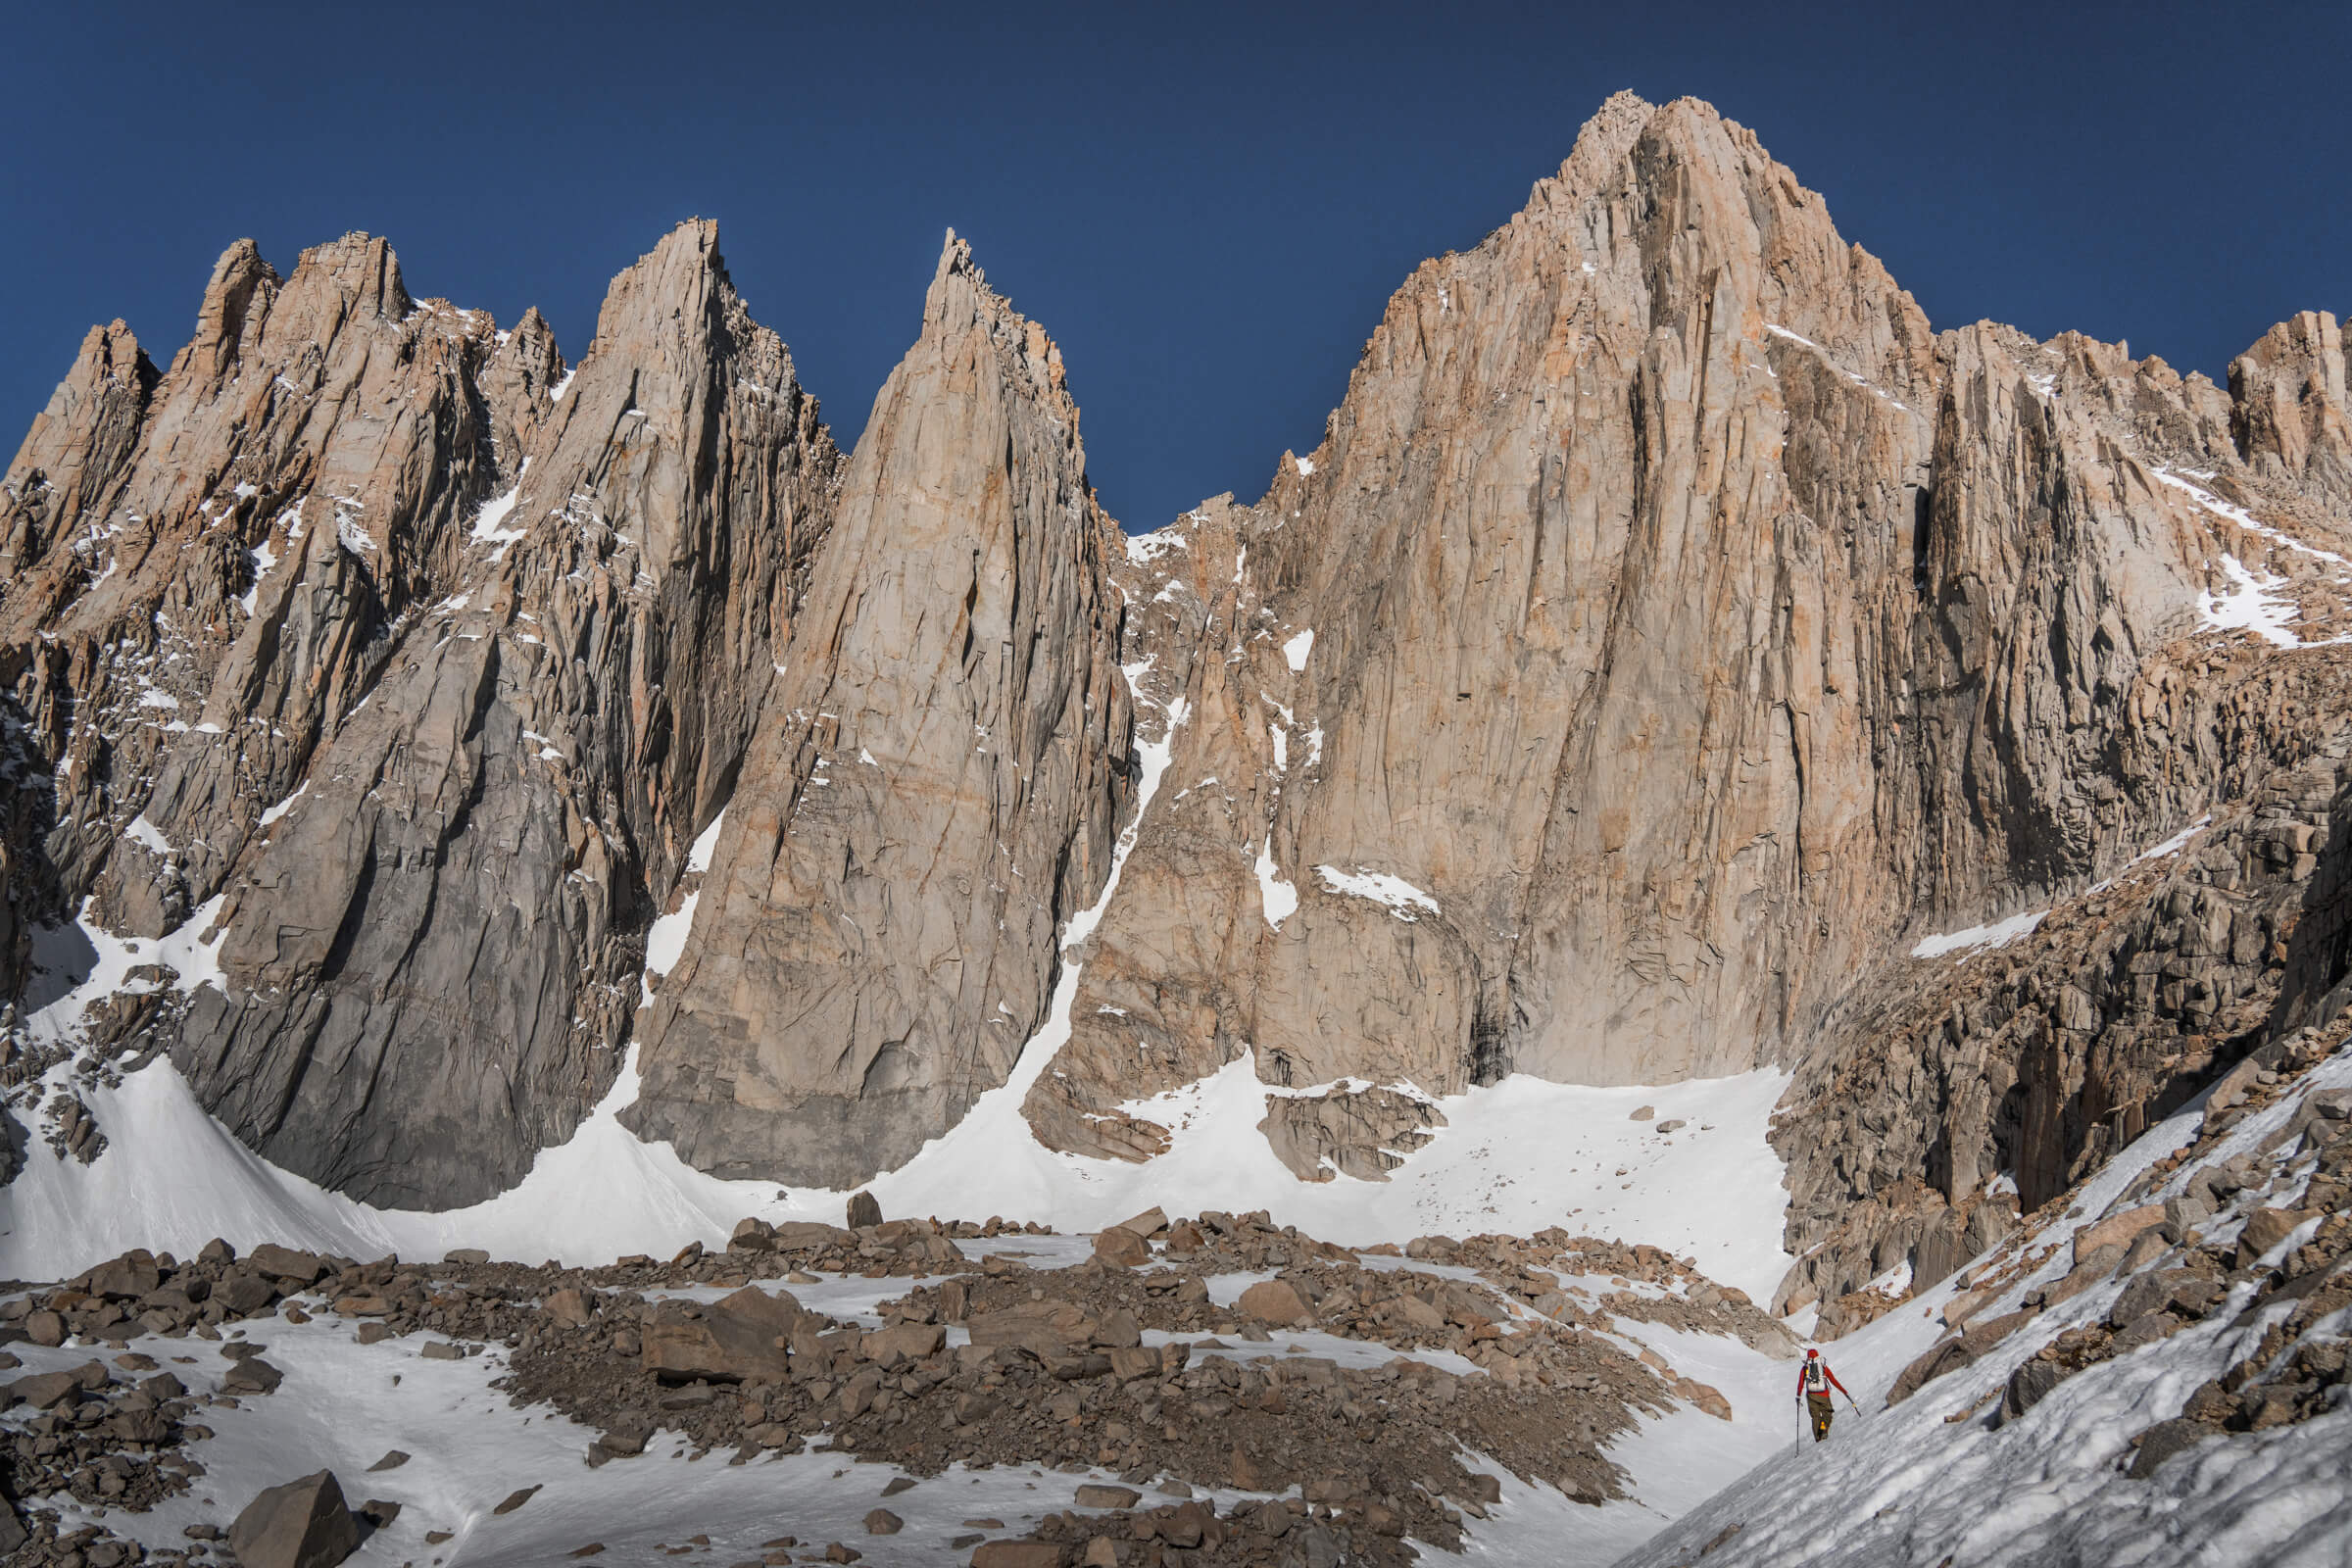
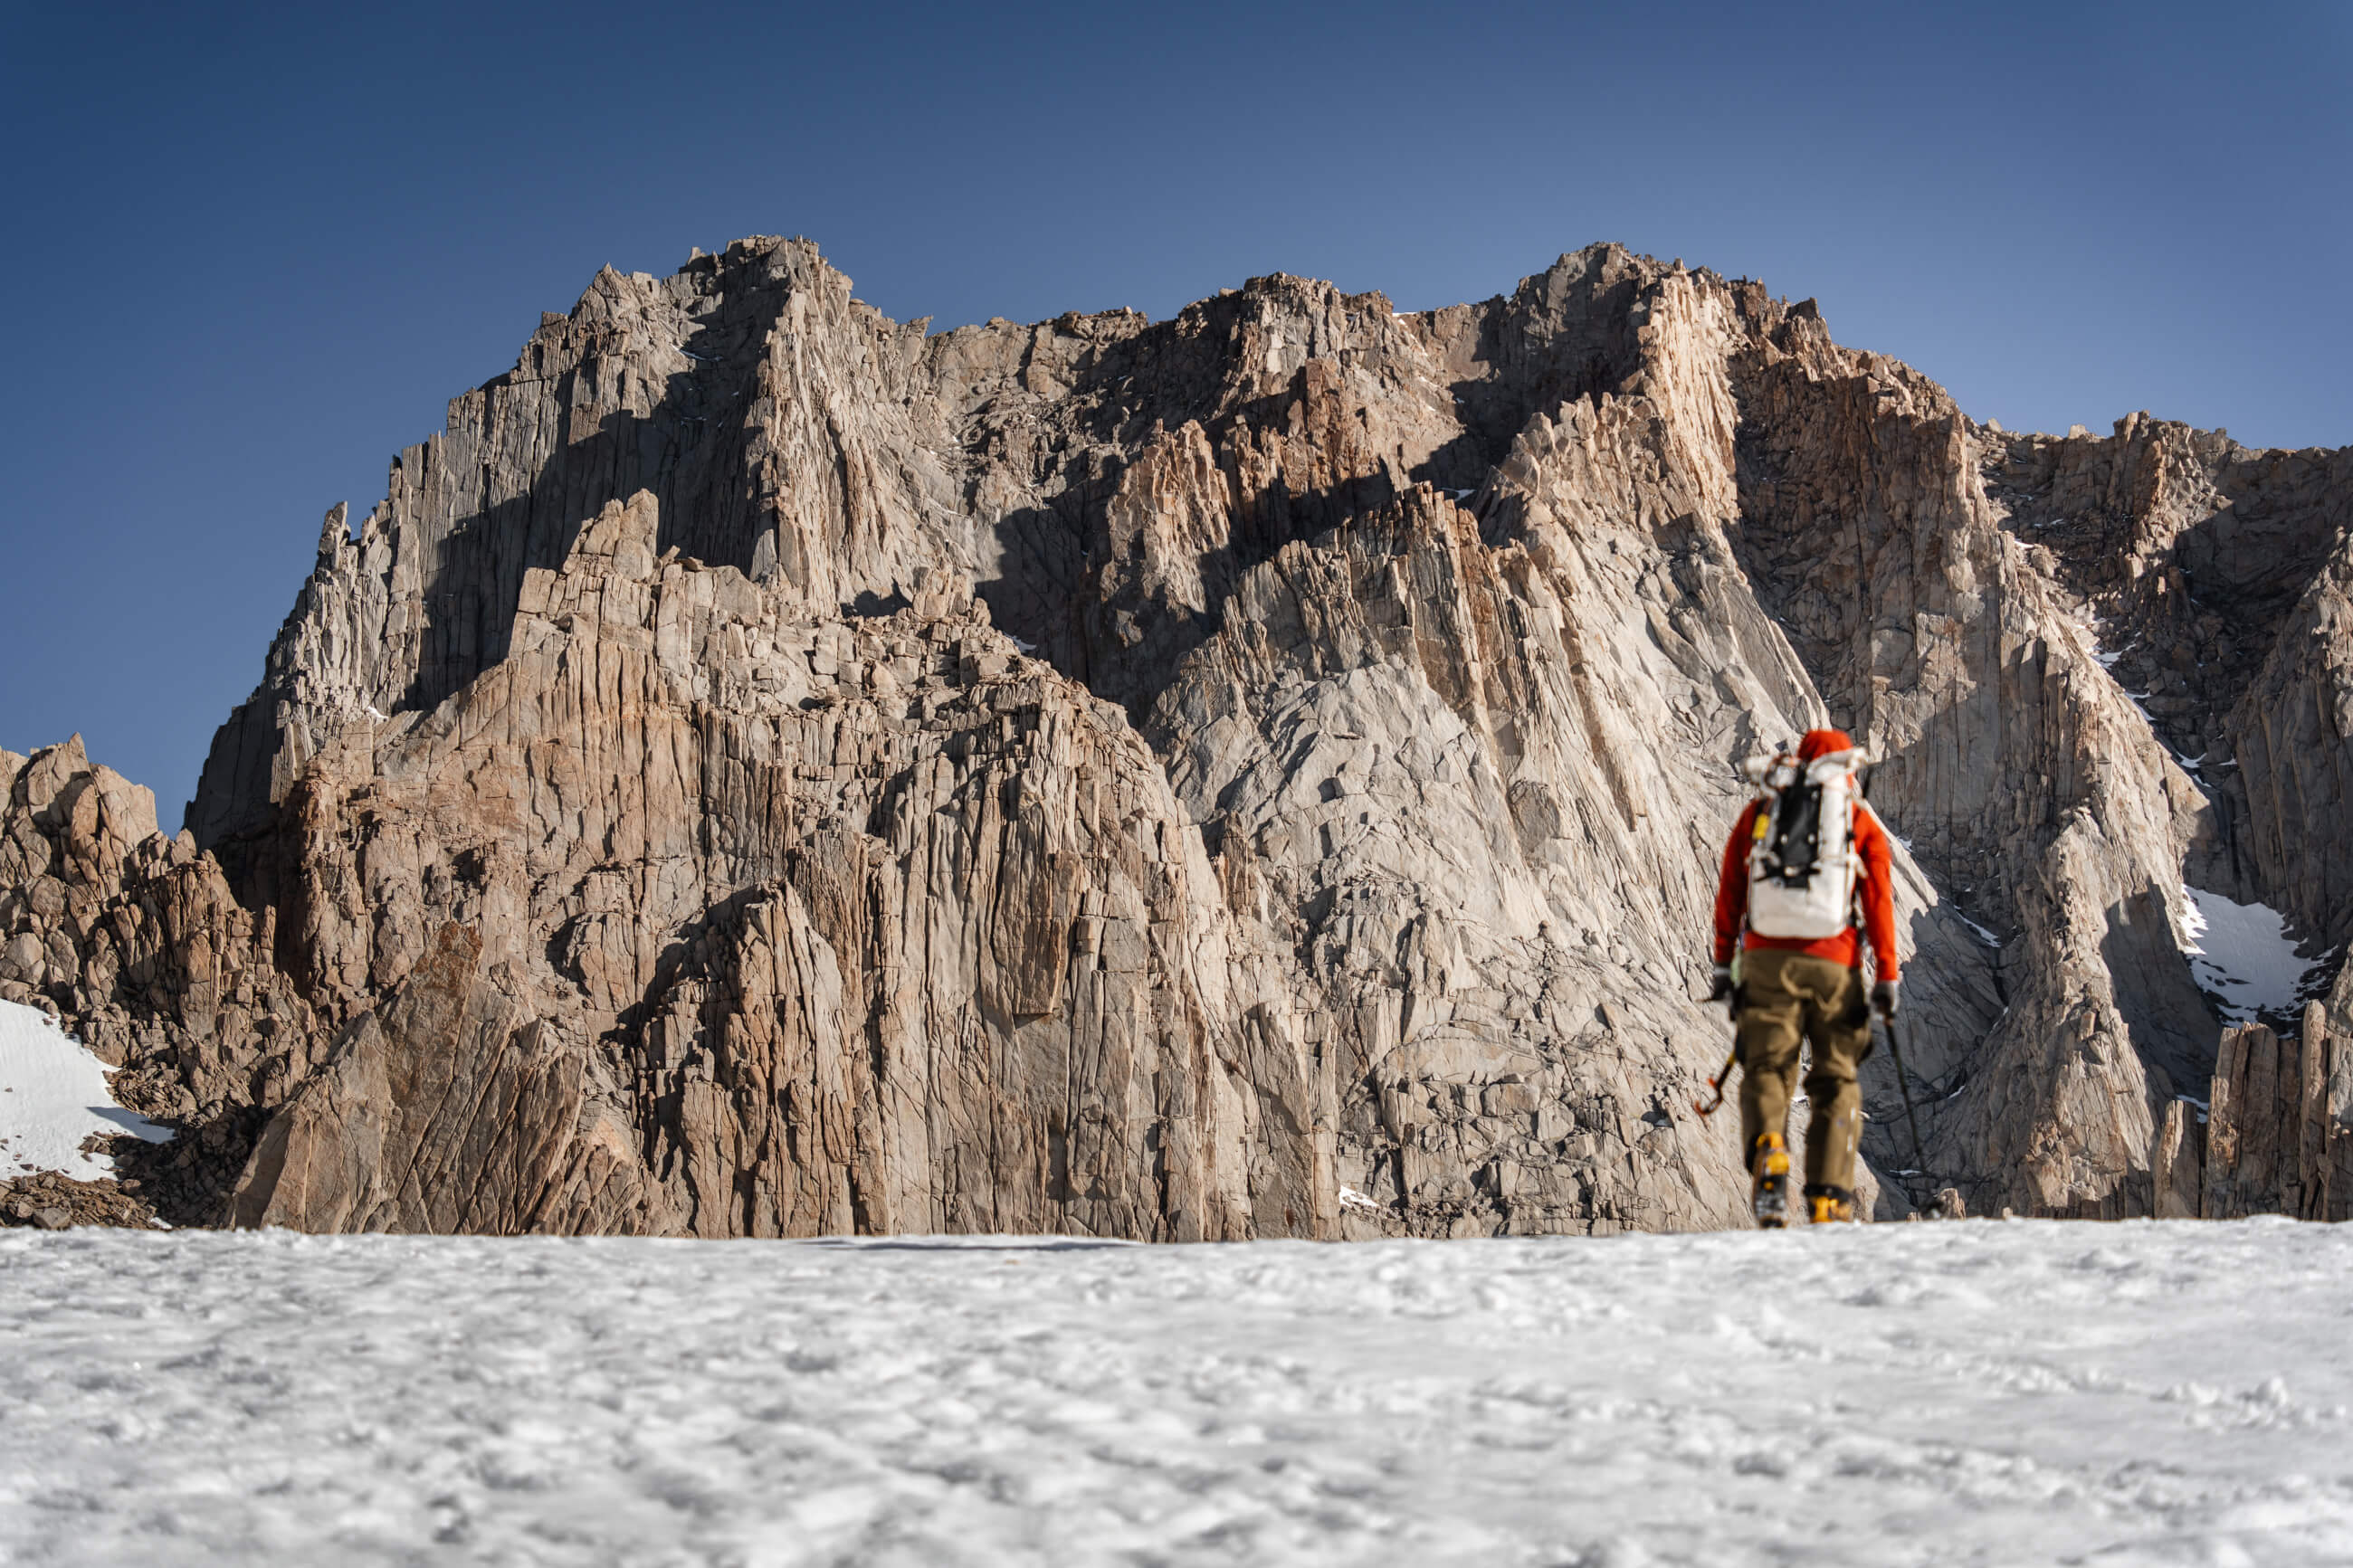
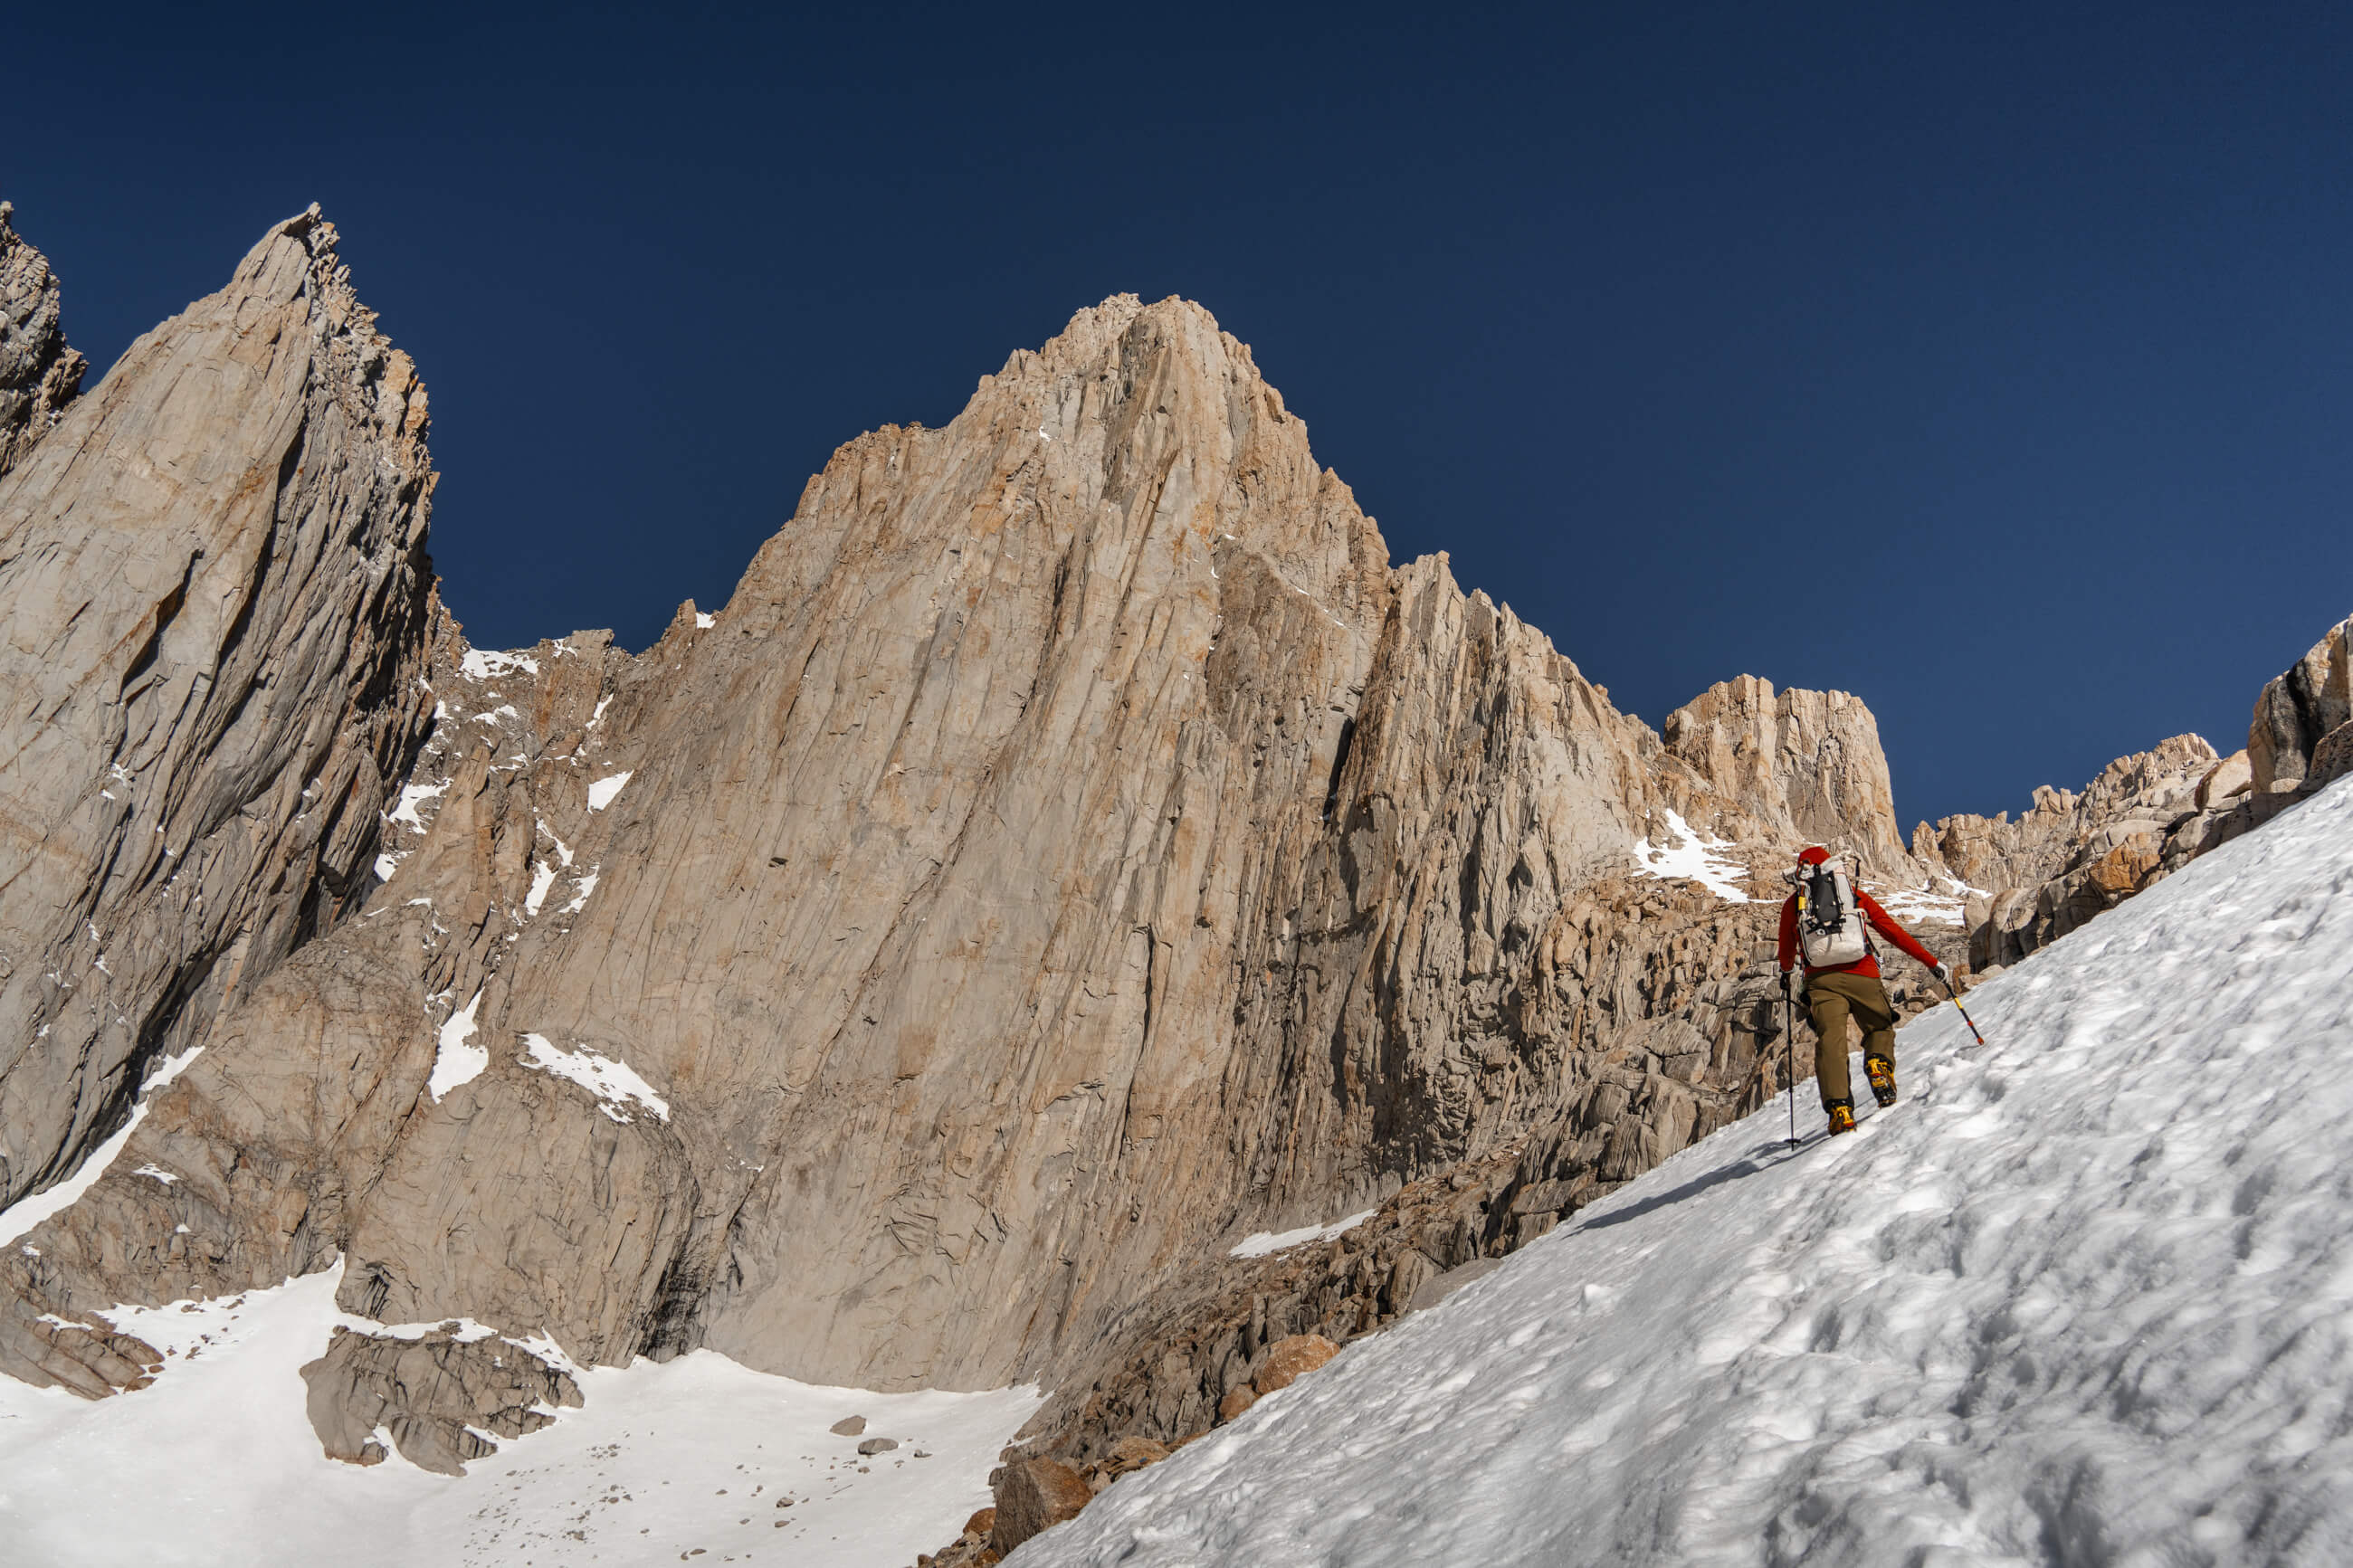
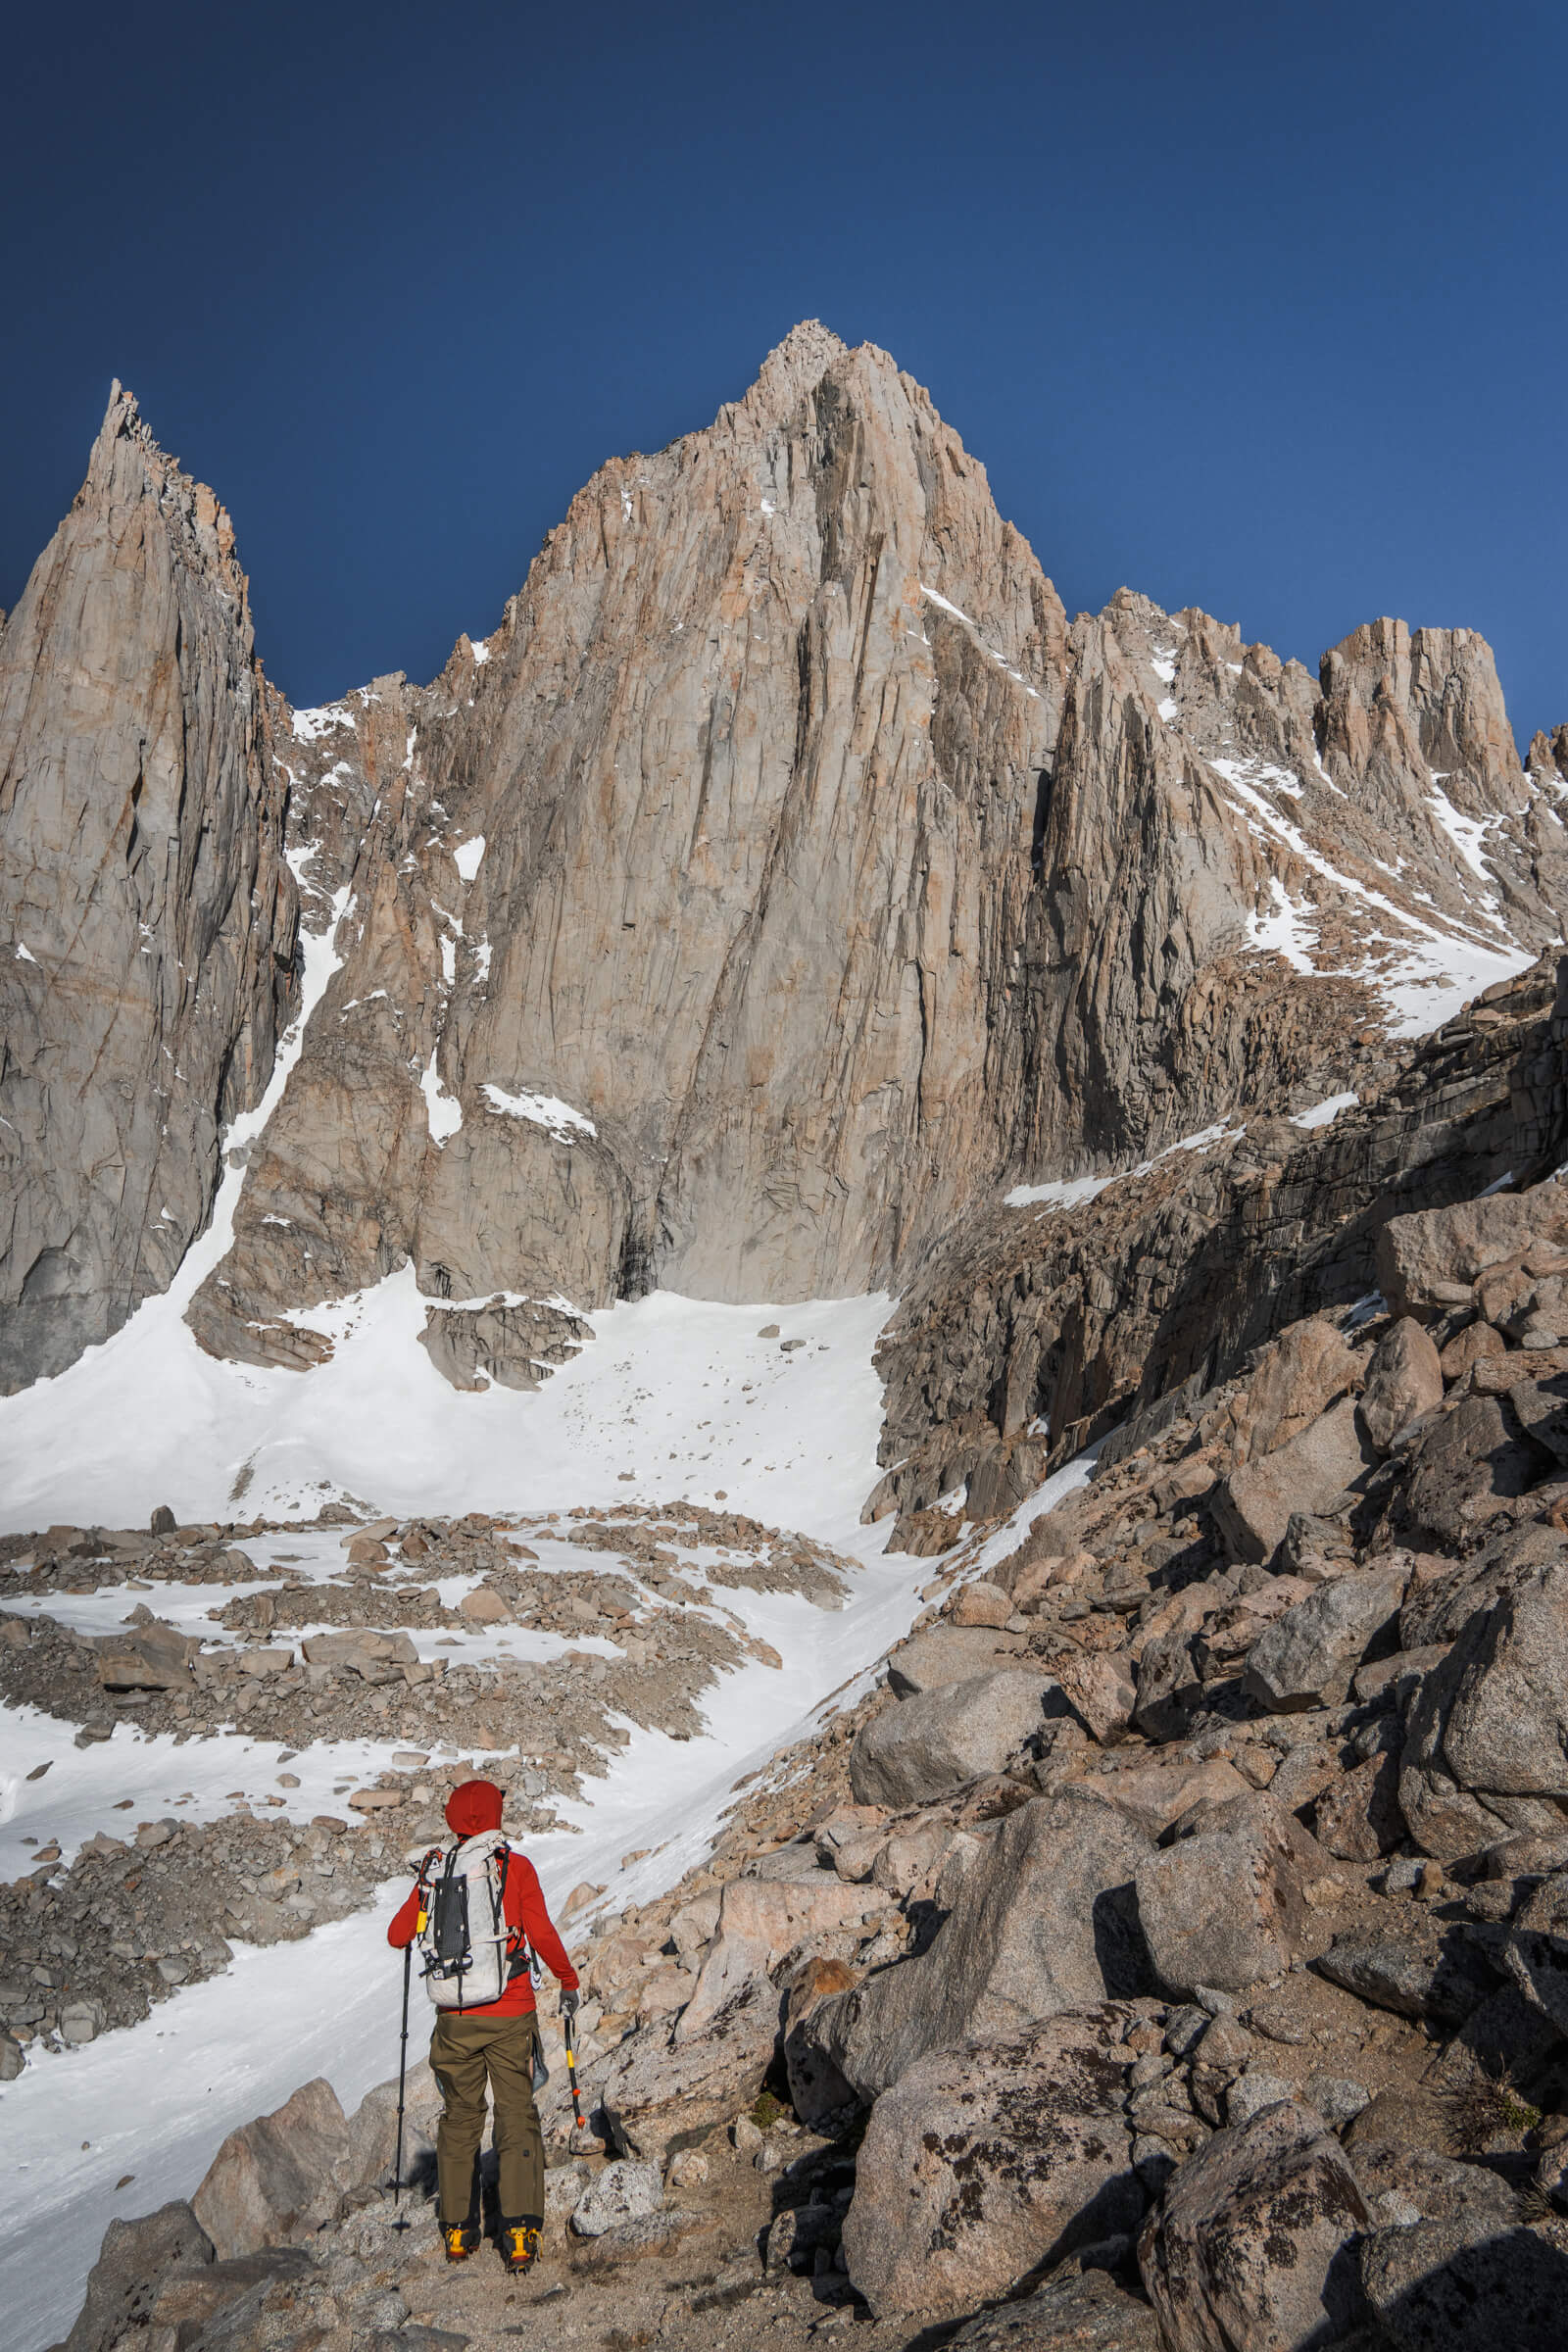
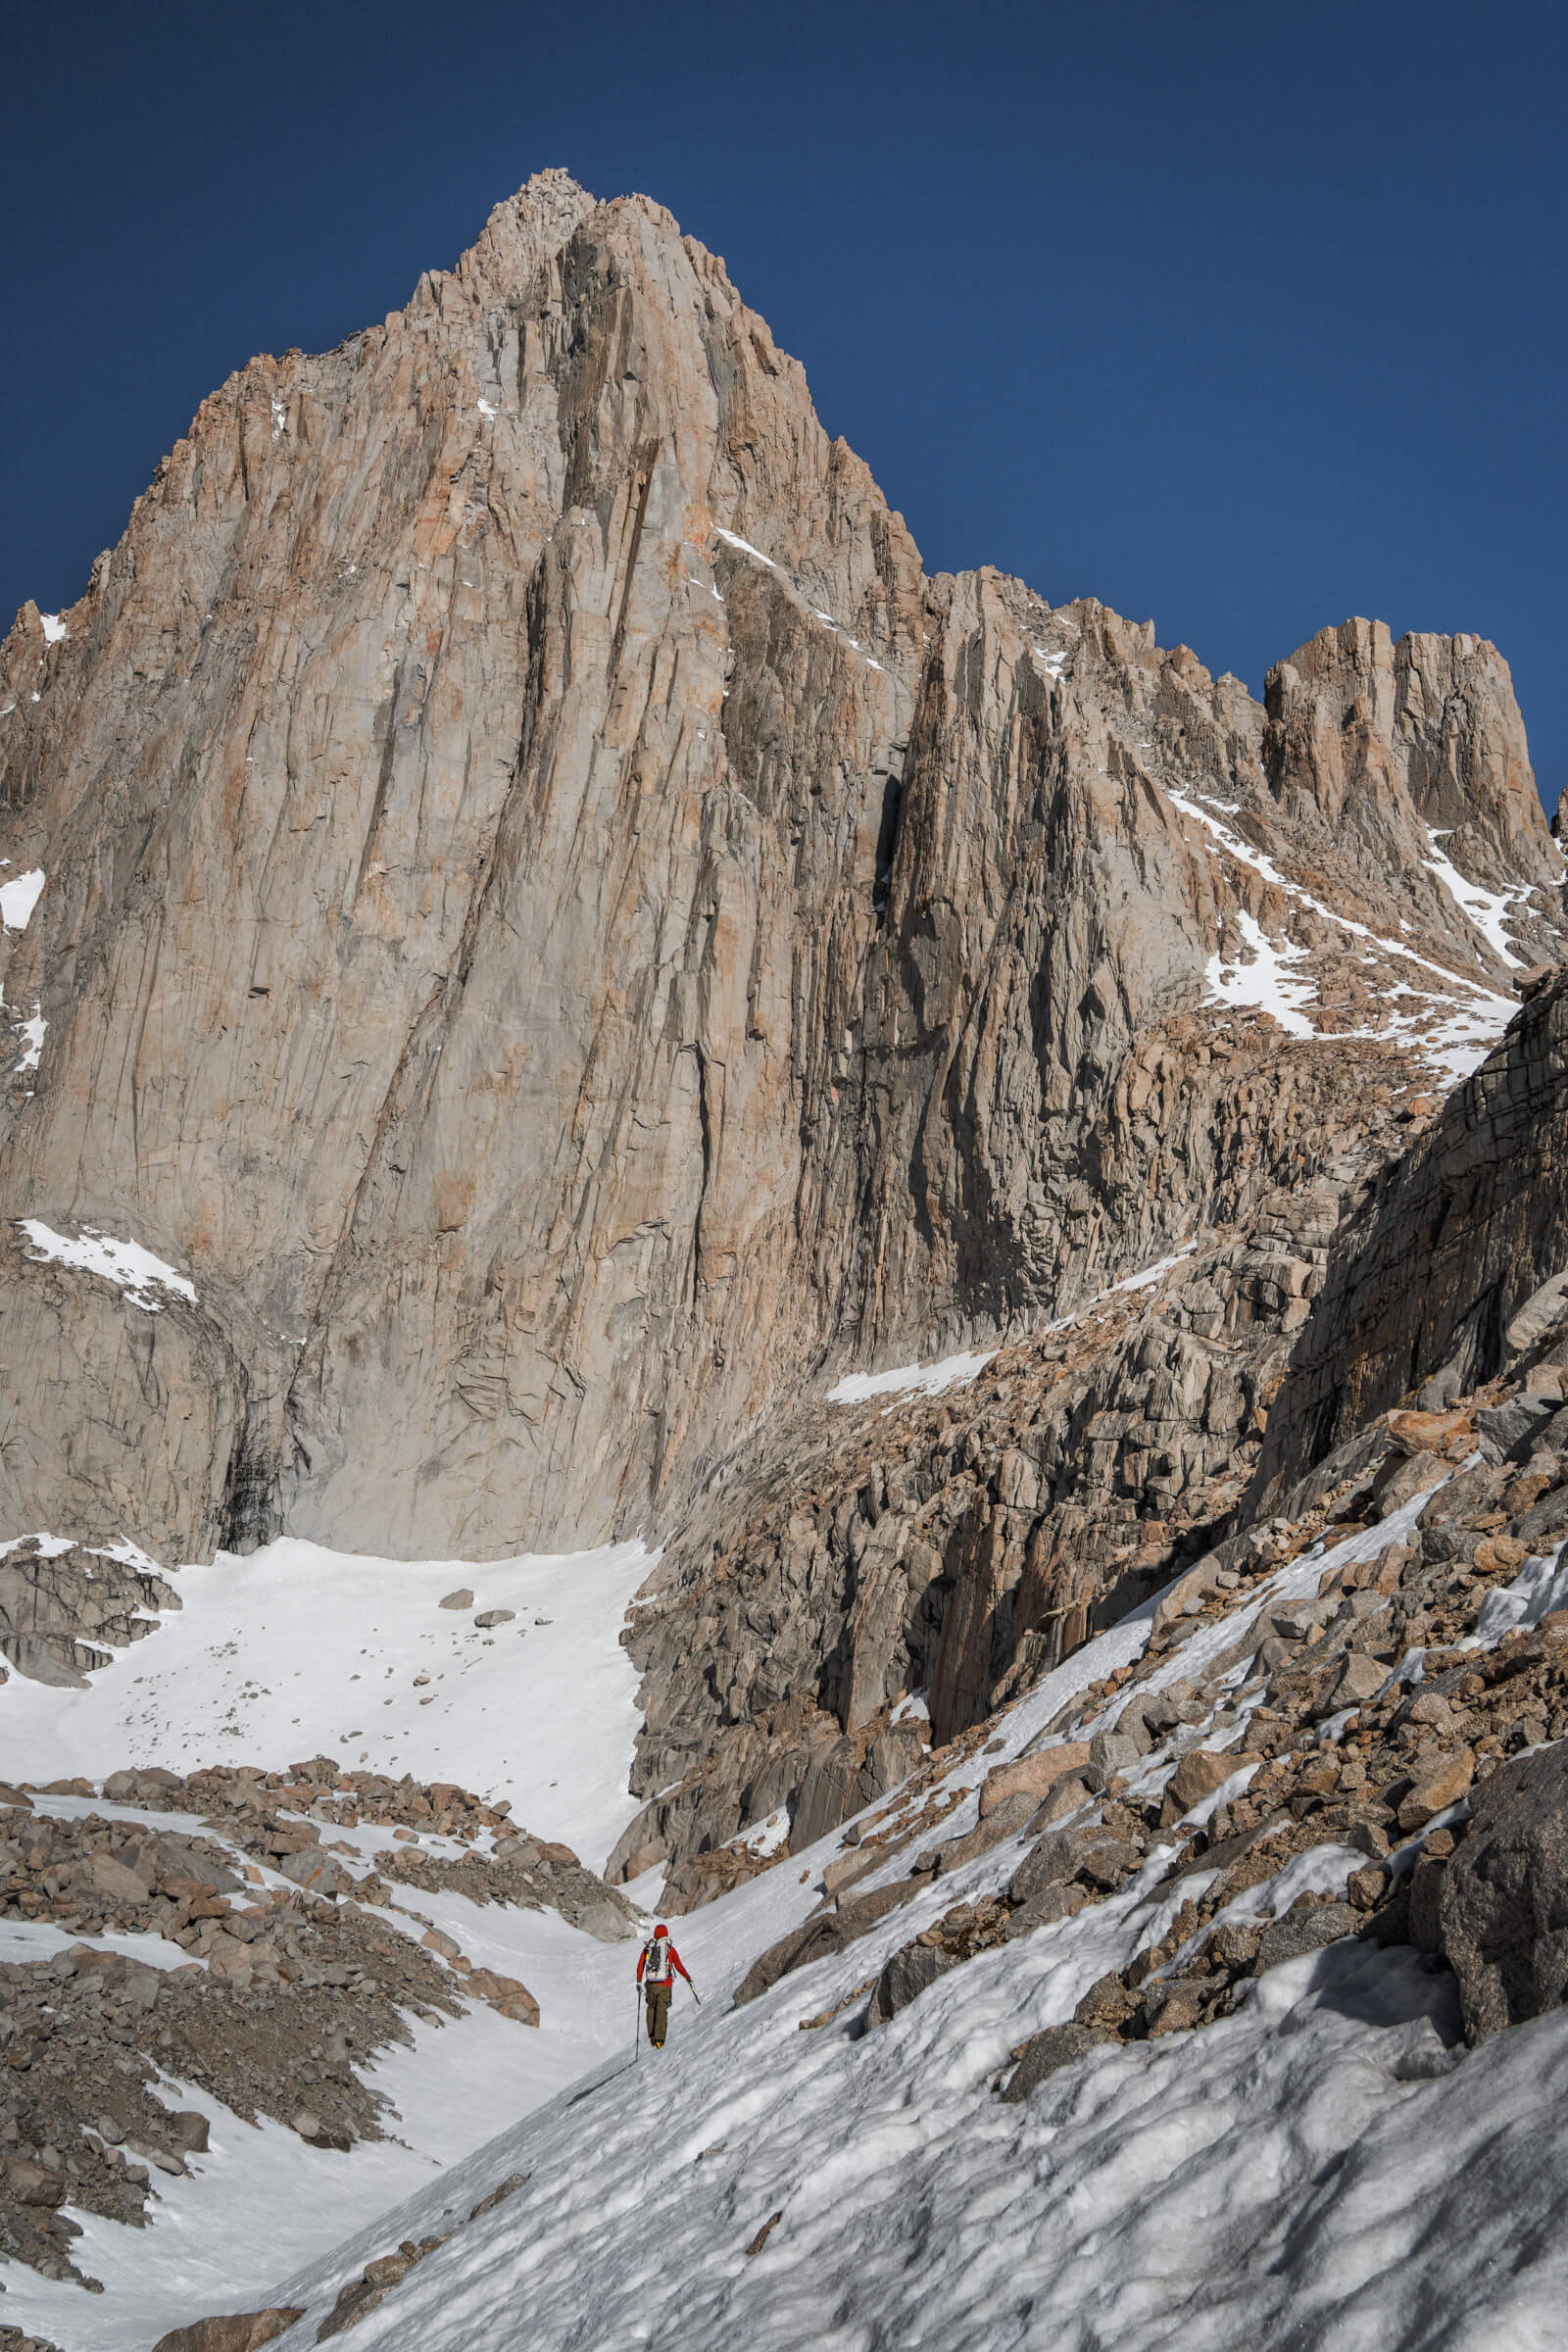
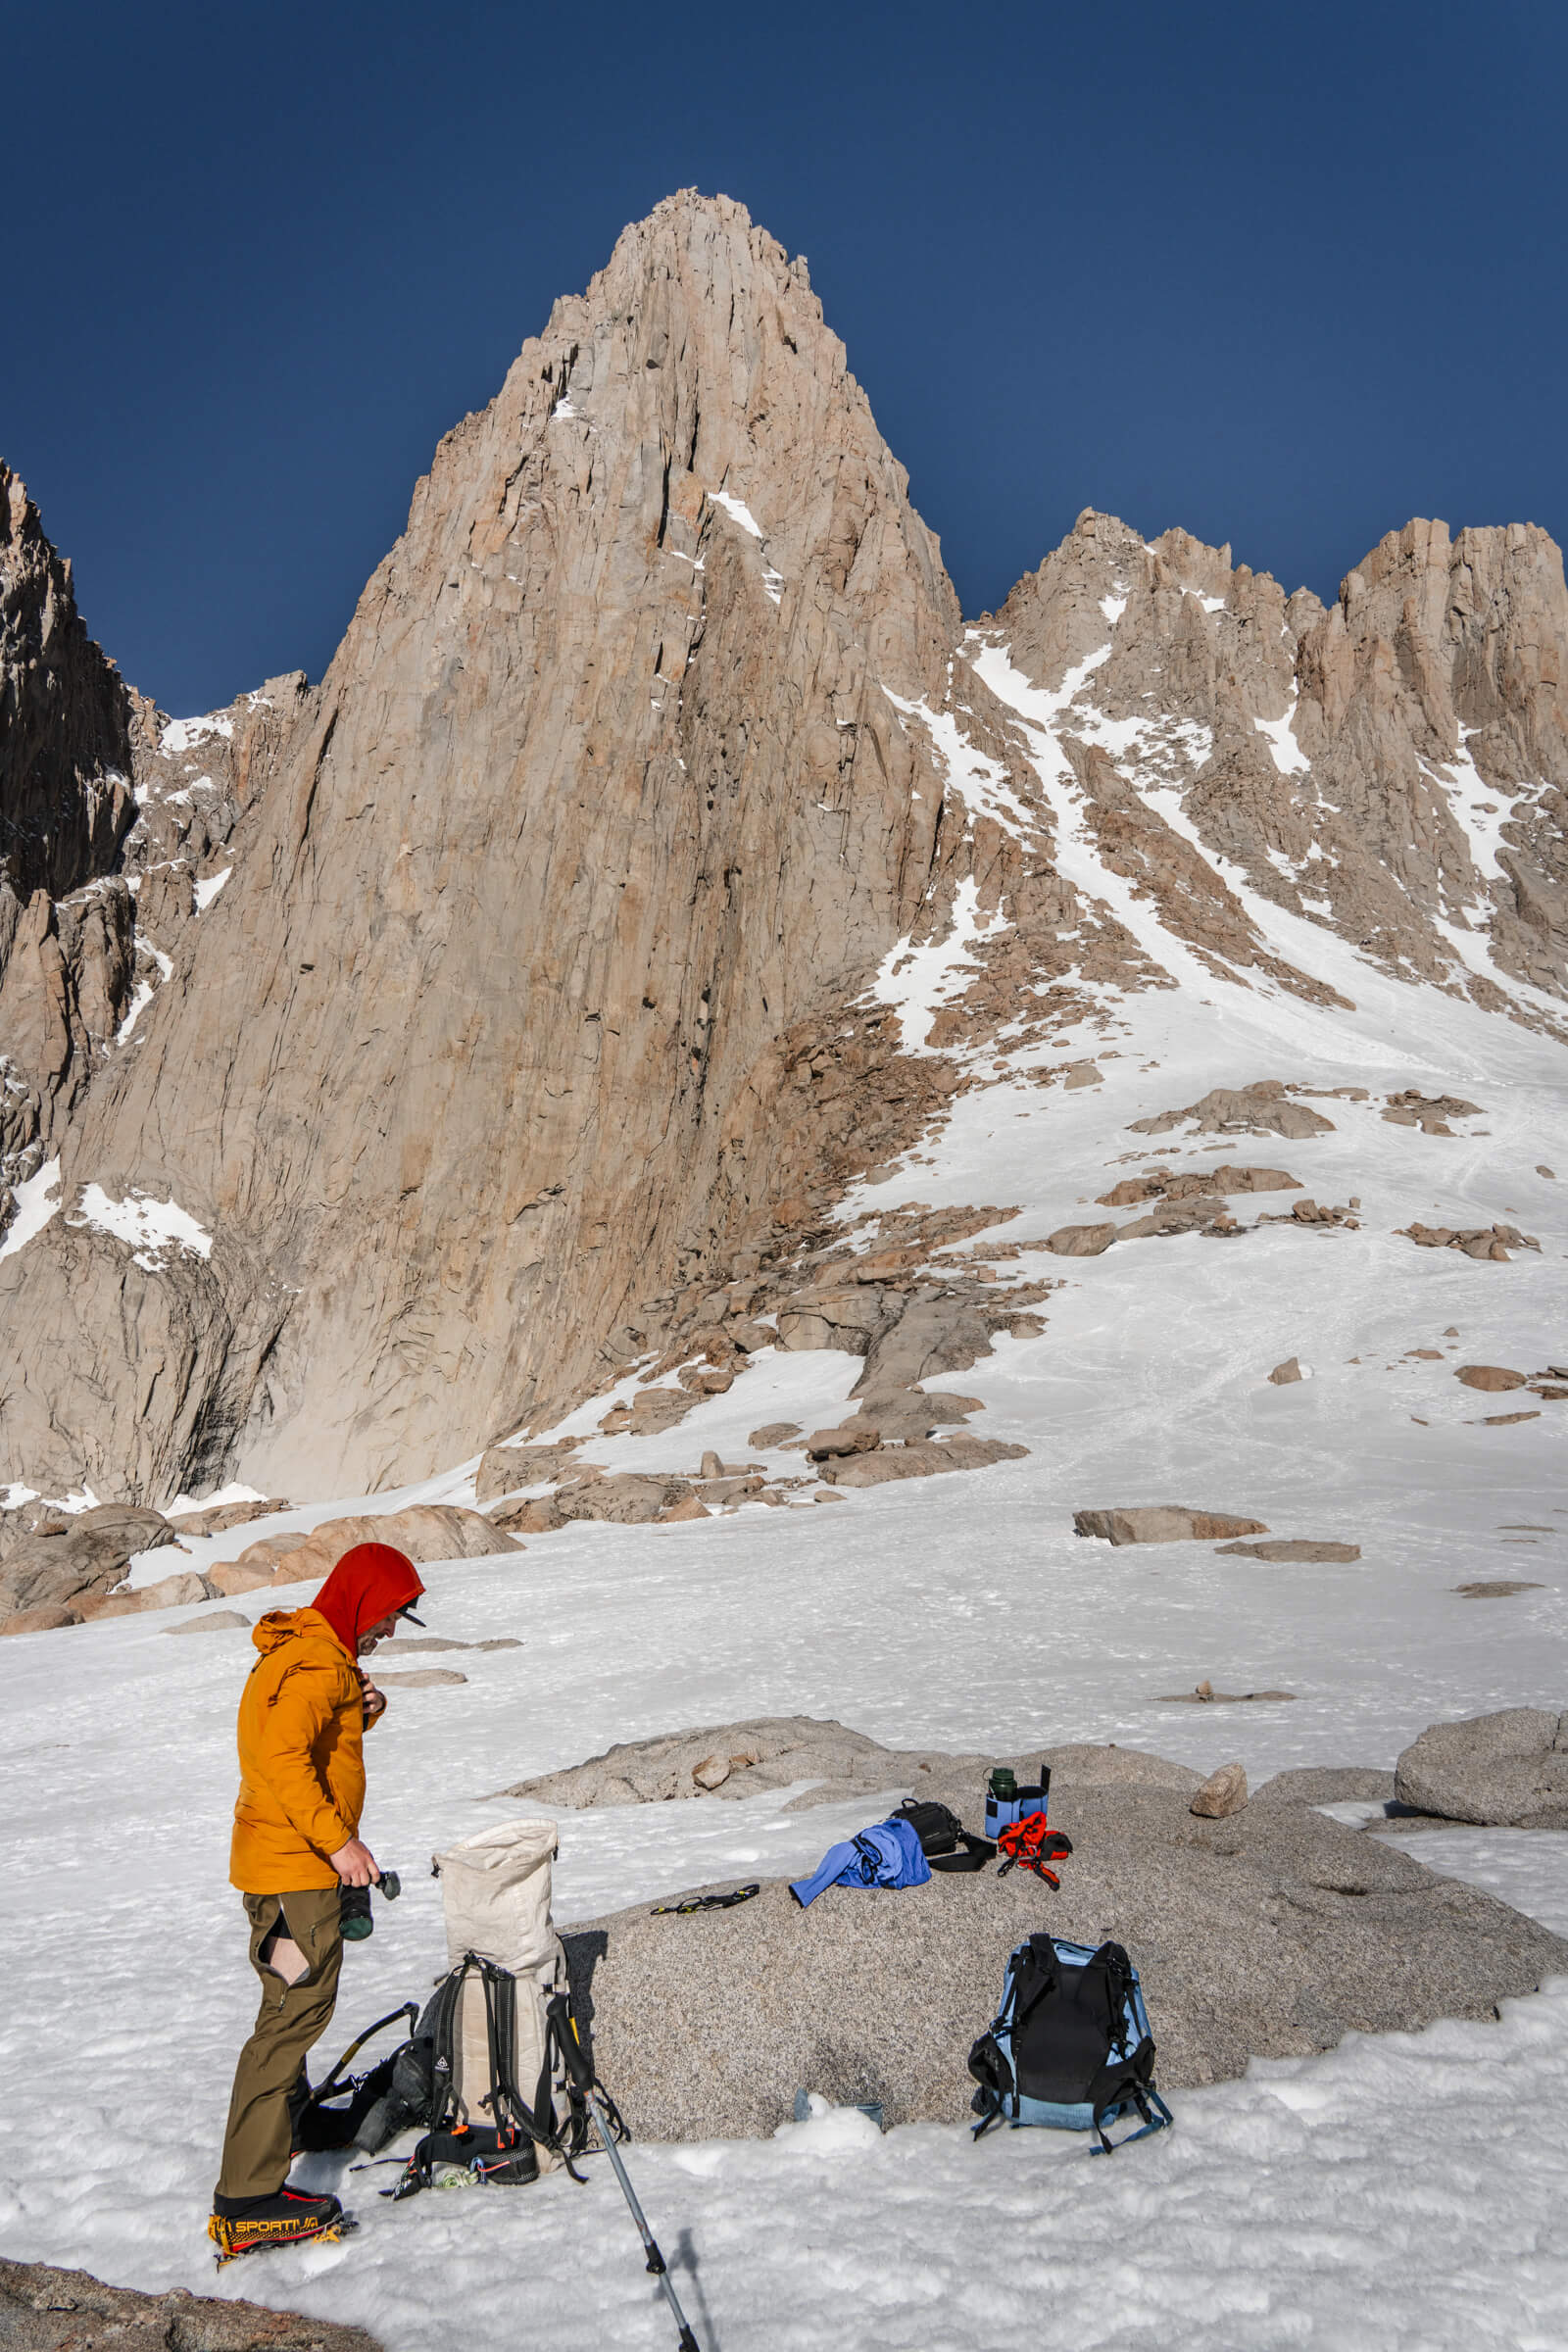
Mountaineer’s Route, a 10 mile version straight up the front of the mountain with some steeper, more technical climbing towards the top. This is more popular during the winter months. I’m honestly not sure if people do it in the summer, it’s probably a pile of scree and rubble. 

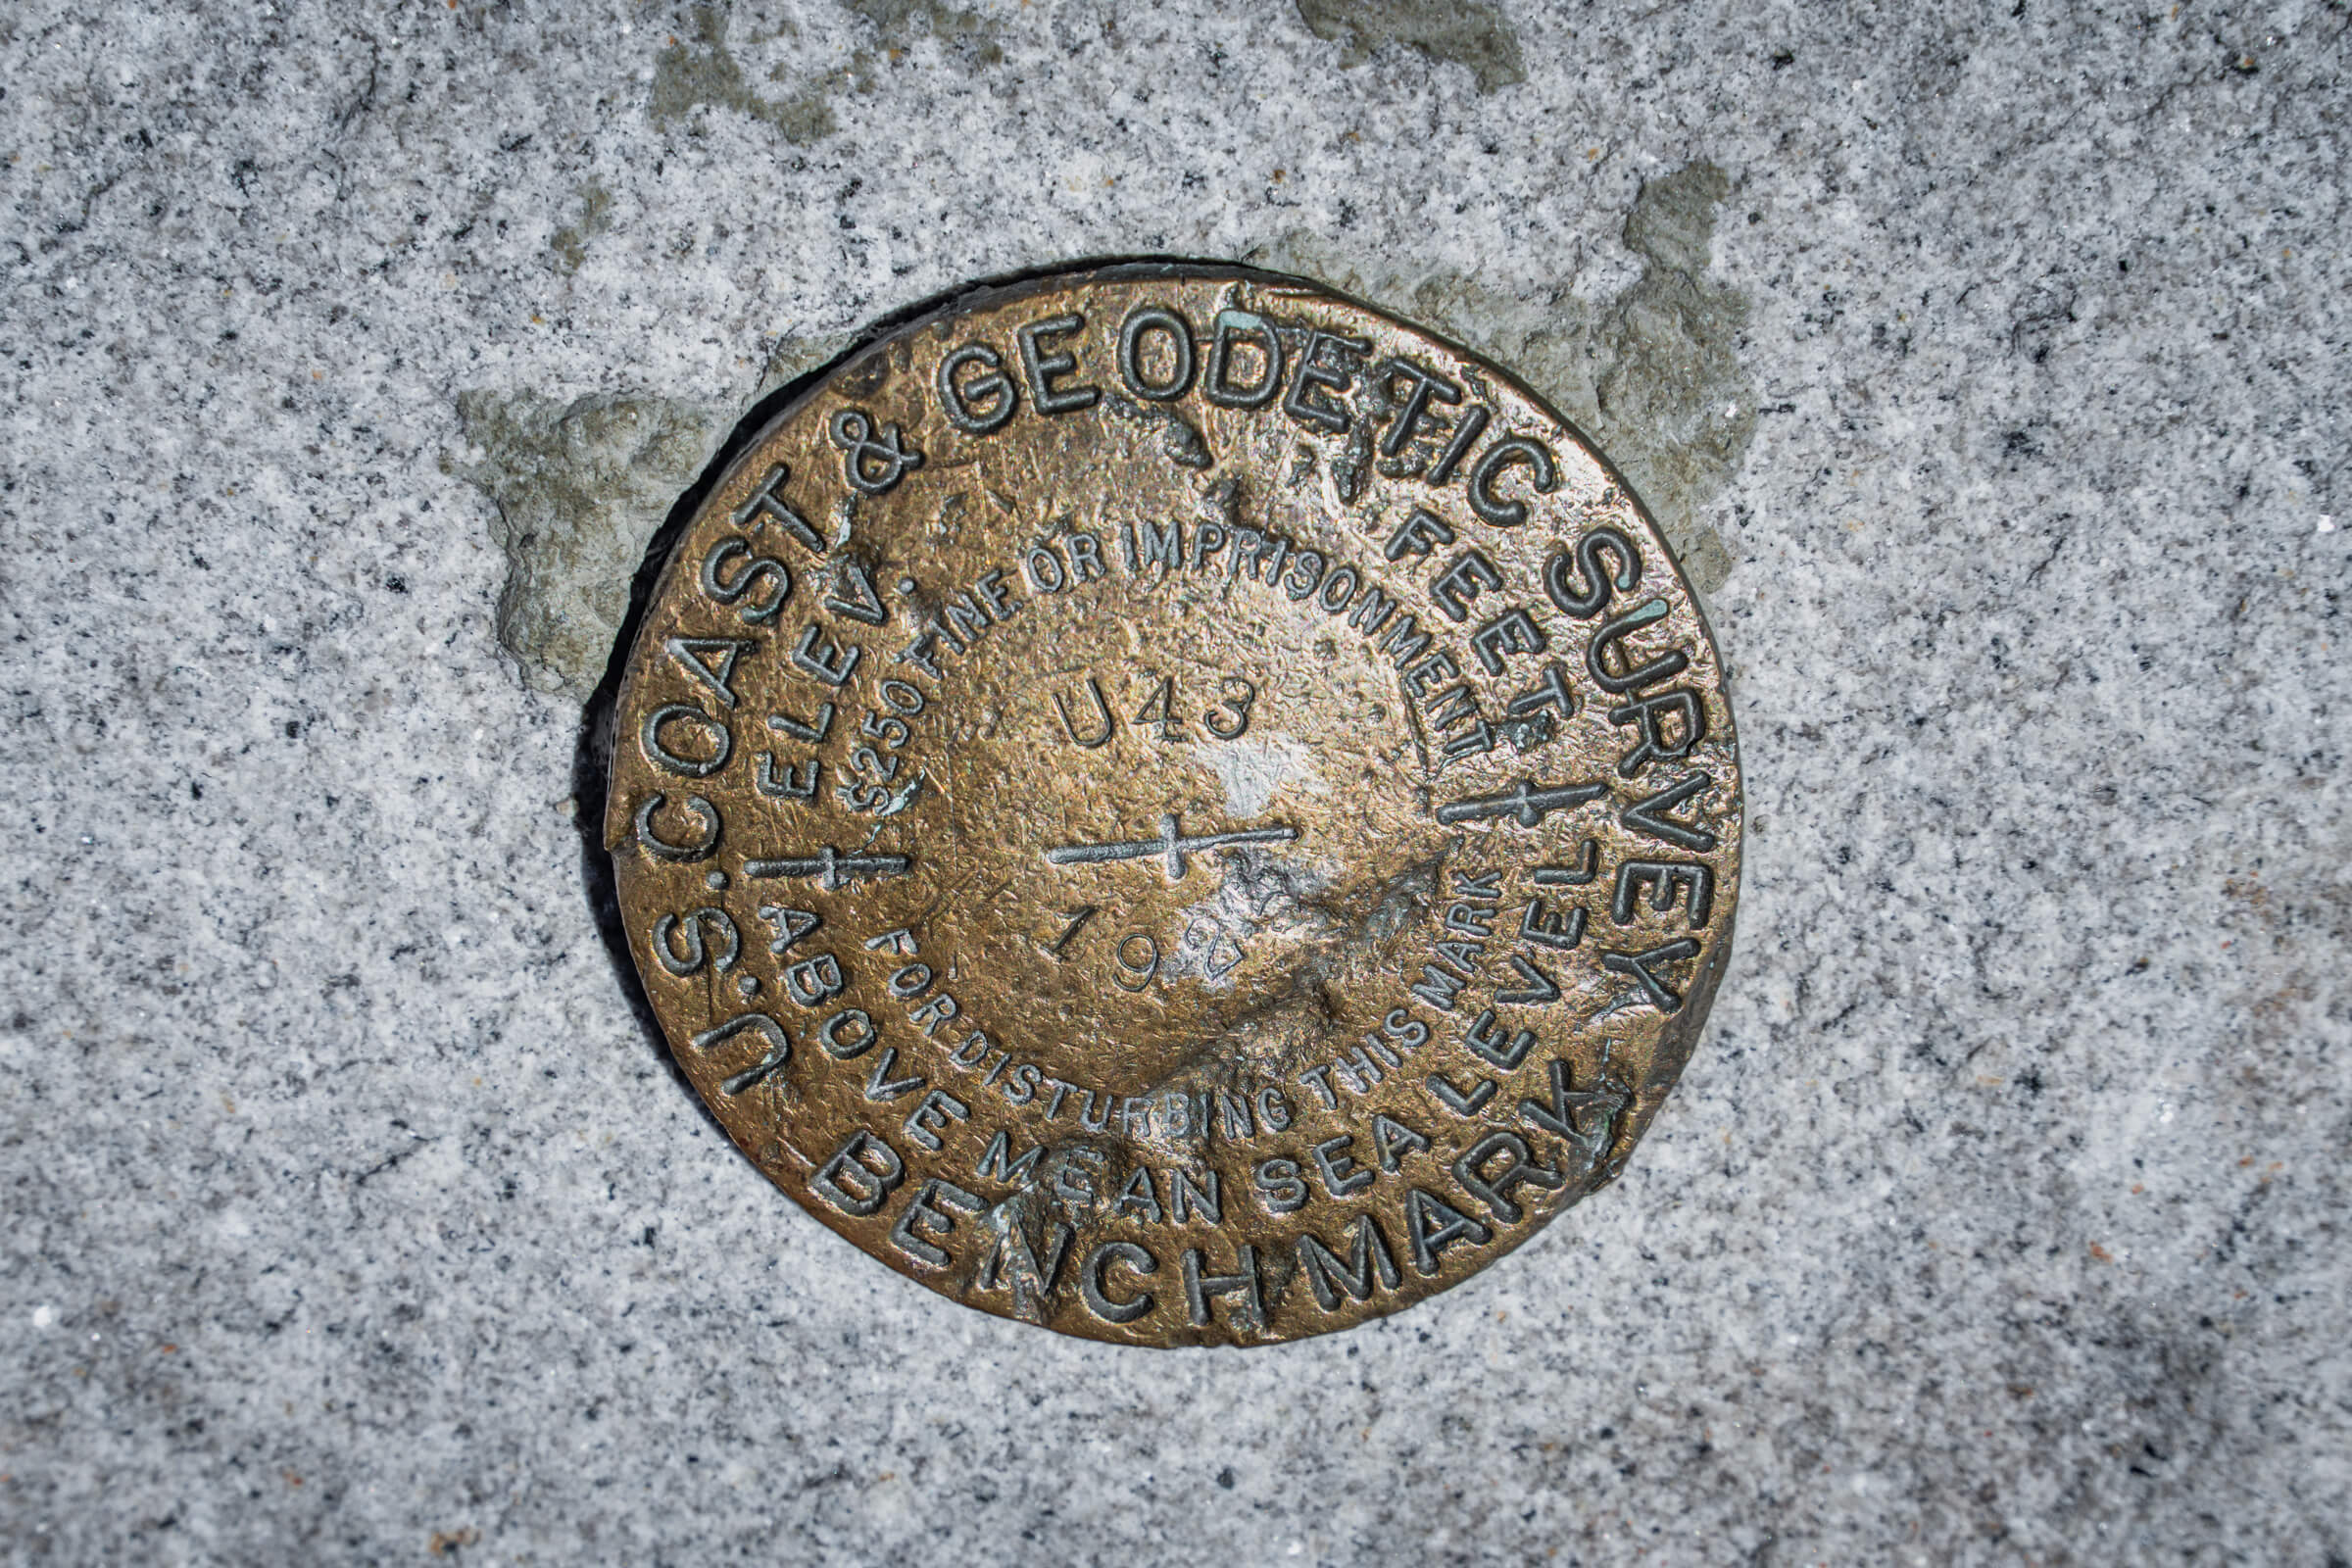
An important distinction on the permitting... If you are hiking via the standard route you need a permit for Mt. Whitney. If you are hiking via the Mountaineer’s route you need a Inyo National Forest Wilderness Permit (specific for North Fork of Lone Pine Creek). Overnight or day use options are available for both depending on your plan.
The scramble up to Lower Boyscout Lake (image 1), the first view of Whitney approaching Lower Boyscout Lake (image 2), the beginning of the snow line just above Lower Boyscout Lake (image 3), and the last push up to Upper Boyscout Lake (image 4)
We opted for the Mountaineer’s Route. We picked up printed permits at the ranger station, finished gear prep in town (there are a couple awesome stores in Lone Pine), and got a late start toward the trailhead. 

The approach is stunning. Huge granite walls, alpine terrain, and we got an immediate sense of why the area is so popular. The route splits early, and we quickly moved from the cover of the forest onto some more exposed ledges up to Lower Boy Scout Lake. With 55lbs in the packs this was a bit tricky.
Lower Boy Scout Lake marked the transition into snow, where we switched into double boots and crampons and continued just a little further to Upper Boy Scout Lake.
You can camp at Lower Boy Scout, Upper Boy Scout, or Iceberg Lake. I’m glad we opted for Upper Boyscout, which was about 3 miles and 3,000 feet into the hike. Iceberg just seems like such a haul with all the heavy camping gear and it didn’t take us much time the following morning to climb up there. 

We had a running stream at camp so we could use the treatment tablets, instead of the time consuming process of melting snow. We made ramen, watched a solid sunset, and crashed. We kept all the food and scented stuff in a bear box so we wouldn’t get woken up by a black bear.
Our campsite next to Upper Boyscout Lake
The approach to Upper Boyscout Lake with the Whitney summit in view
We started around 5:30am the next morning and the views of the rock formations up to Iceberg are gorgeous.
The last little bit up to Iceberg is fairly steep and directly above Iceberg Lake is the couloir leading up to the notch. We took a beat at Iceberg and started up the coulair. It probably tops out around 45/50 degrees. It was baking hot as we ascended and we wished we started just a bit sooner. 

At the notch you hang a left and there you have the final 400 feet. This is super steep and the crux of the day. Everyone had warned us not to take the traverse but instead go straight up. The traverse takes you out around the steepest part but you’re kicking steps into a super exposed drop off and it seems a little less secure. 

We proceeded up and over the rock band. Stay high and left, do not go out right on the rock band the footing is horrible. After climbing over the rocks, we started up the sustained ~60/70 degree snow slope. The exposure is intense, and I made sure to punch in good steps and use both my tools. Guided groups were all roped up and I can see why. The summit is a really big, flat area and we walked over to the marker in clear, calm conditions.
The approach to Upper Boyscout Lake (images 1, 2, 3), the view across Upper Boyscout Lake (image 4), about to start up the coulair to the summit (image 5, 6)
Reversing the steep snow required careful down climbing, and we chose a more protected mixed-rock variation back down to the notch.
When you’re looking down from the top, descend via the left side in the rocks. The descent was the most stressful part of the day and traversing back across the snow field to the top of the rock band was the most sketchy to navigate.

We descended the coulair in fairly soft snow and made it back to camp around 1:45 PM. We didn’t end up needing the snowshoes at all but it wasn’t a bad idea to have them. The summit day was a little over 3 miles (round trip from Upper Boyscout to the summit and back) and 3,400 feet. We camped another night at Upper Boyscout and debated a summit of Mount Russell the next morning. We decided to save it for a summer trip and made it back down to Lone Pine the following morning. 
Views from the summit (images 1, 2), the descent from Lower Boyscout Lake (image 3)